Sign-in with Apple social login guide
![]()
Sign in with Apple is Apple’s foray into the world of social login: if you add support for Sign in with Apple to your website or app users will be able to register and to log on by using their Apple ID. Equally important, Apple has announced that – sometime down the road – Sign in with Apple will be required for apps available in the Apple App Store that allow social login: if your app allows users to login with, say, their Facebook or Twitter accounts then that app will have to allow users to login in with their Apple ID. See the Apple Developer Center for more information.
Before you begin
To use Sign in with Apple for social login you must:
-
Obtain an Apple developer account from https://developer.apple.com.
-
Do one of the following:
- Open a previously-created Sign in with Apple application and copy the team ID, services ID, key ID, and key value.
- Create a new application and copy the team ID, services ID, key ID, and key value.
-
Use the Social Login Dashboard and the preceding information to configure Apple as a social login provider.
Alternatively, you can bypass the Social Login Dashboard and create a custom provider instead. See Introduction to custom providers for more information.
Create a with Sign In with Apple app
In this section of the documentation, we’ll explain how you can use the Apple Developer Center to create an app that works with Sign In with Apple. This process requires you to log on to the Developer Center and:
- Create an app identifier
- Create a services identifier
- Create a private key
At first glance that might seem like a lot to do, but the following instructions will walk you through each task, step-by-step.
Before you begin, keep in mind that Apple charges for its developer accounts, or at least for accounts that have the permissions needed to create a Sign In with Apple app. In order to use Sign In with Apple, you’ll need to spend $99 and enroll in the Apple Developer Program: the instructions in this documentation will not work for anyone logged on with a free Apple Developer account.
Create an app identifier
To create an app for use with Sign in with Apple, you must start by creating an app identifier. To do that, complete the following steps:
-
Log on to the Apple Developer site (https://developer.apple.com) using your Apple Developer Program account. Remember: the free developer account does not provide access to the resources needed to create an app.
-
After logging on, click Account in the upper right corner of the screen:

-
On the Account page, click Certificates, IDs & Profiles:

-
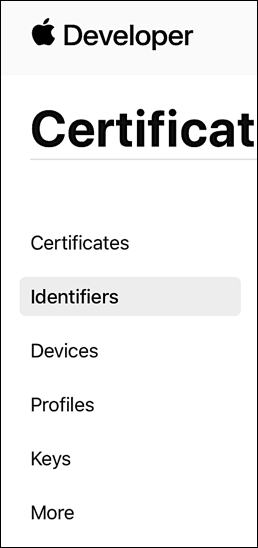
On the Certificates, Identifiers & Profiles page, click Identifiers:
-
On the Identifiers page, click the plus sign to create a new identifier:

-
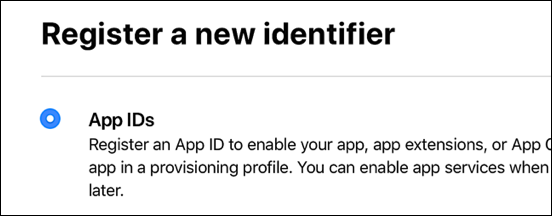
On the Register a New Identifier page, select App IDs and then click Continue:
-
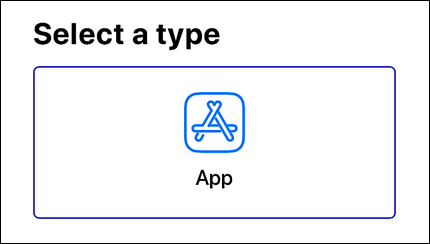
On the Register a new identifier page, select App and then click Continue:
-
On the Register an App ID page, do the following:
-
Select the Platform that the app will run on. You can choose between iOS, tvOS, watchOS (for iPhones and other mobile devices) and macOS (for computers).
-
Enter a brief description of your app in the Description field. Note that you can only use letters, numbers, or blank spaces in your description. Special characters – including hyphens, commas, and periods – are not allowed. Note, too that descriptions are required: you can’t continue without entering a description.
-
Enter a “Bundle ID” for your app in the Bundle ID field. A bundle ID is nothing more than a unique identifier for the app. Apple recommends using a reverse-domain name string as the bundle ID. For example, if your domain is
documentation.akamai.comthen your bundle ID would becom.akamai.documentation. Once created, bundle IDs cannot be changed.
Be sure to select Explicit when entering the bundle ID:

-
-
On the Register an App ID page, scroll down the page, select Sign In with Apple, and then click Edit:

-
Verify that Enable as a primary App ID is selected and then click Save:

-
On the Confirm Your App ID page, verify that all your settings are correct and then click Register:

-
Your new app ID appears in the list of identifiers:

Create a Services Identifier
After you have an app ID, the next step is to create a services identifier. To create this identifier, complete the following steps:
-
On the Identifiers page, click the plus sign to create a new identifier:

-
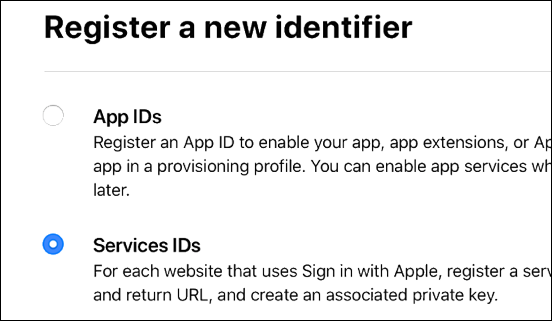
On the Register a New Identifier page, select Service IDs and then click Continue:
-
On the Register a Services ID page, do the following:
-
In the Description field, enter a description for the services ID (this can be, but does not have to be, the same description that you gave your app ID). As with the app ID, you are limited to using letters, numbers, and blank spaces.
-
Enter a services ID in the Identifier field. For ease of use, the services identifier should be similar to your app ID, although there must be some difference between the two (identifiers must be unique). Because the services ID functions as your client ID, the sample identifier shown below consists of the app ID plus the appended string value services:

-
-
Click Continue and then click Register:

The new service identifier appears in your list of identifiers:

-
Click your new service identifier and then, on the Edit your Services ID Configuration page, select Enabled next to Sign in with Apple and then click Configure:

-
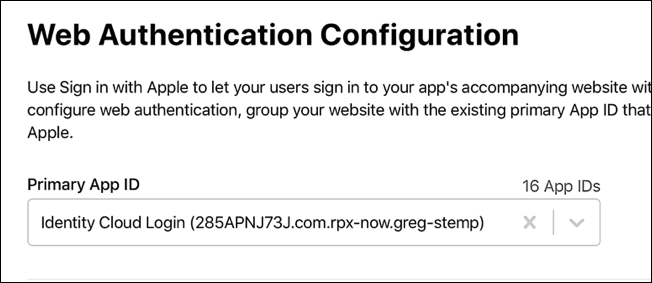
On the Web Authentication Configuration page, click the Primary App ID dropdown list and select your application:
-
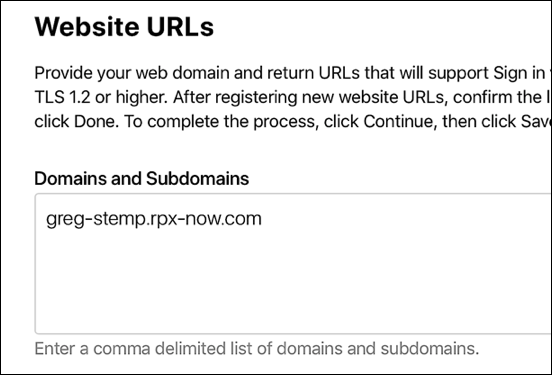
In the Domains and Subdomains, enter the URL (minus the HTTP or HTTPS protocol) for your website:
-
In the Return URLs field, enter the redirect URL exactly as shown in your Social Login dashboard:
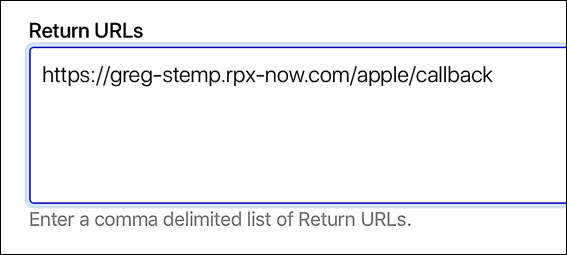
Note that the URL specified as the web domain does not have to be in the same domain as your redirect URL.
-
Click Next and then click Done.
-
On the Edit your services ID configuration page, click Continue and then click Save.
Create a private key
You now need to create a private key (which serves the password for your app, and which should not be shared with anyone). To create a key, complete the following steps:
-
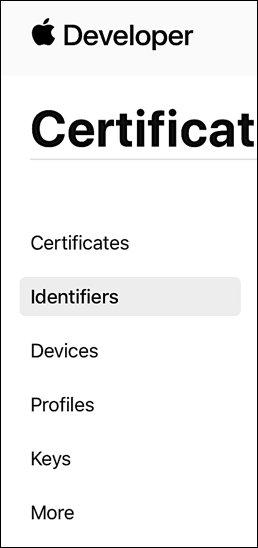
On the Certificates, Identifiers & Profiles page, click Keys:
-
On the Keys page, click the blue and white plus sign to create a new key:

-
On the Register a New Key page, enter a name for your new key in the Key Name field (again, you're limited to letters, numbers, and blank spaces when assigning a key name):

-
At the bottom of the page, click Sign In with Apple and then click Configure:

-
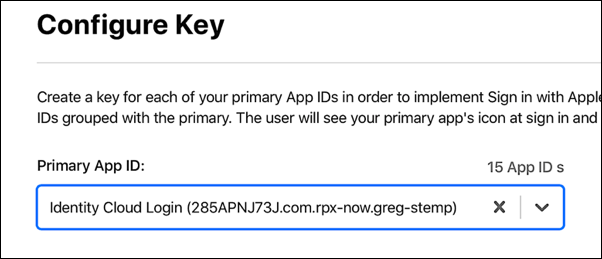
On the Configure Key page, click the Choose a Primary App ID dropdown list, select the name of your app, and then click Save:
-
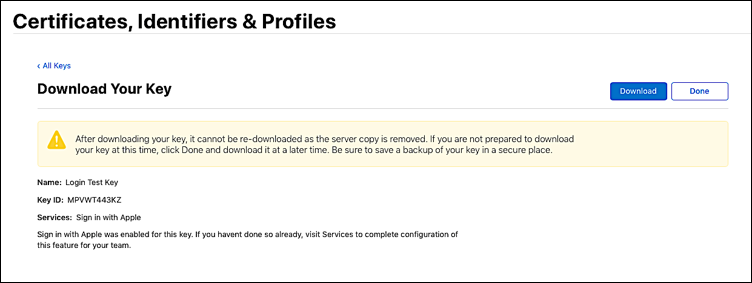
On the Register a New Key page, click Continue. Verify that the key information is correct, and then click Register. The Download Your Key page appears:
-
The value of the key (a value you need in order to configure Sign In with Apple as a social login provider) is not displayed on this page; instead, the only way to get the value of the key is to click the Download button:

Note, too that you only get one opportunity to download the key; if you click Download and then later look up the key you’ll see that the option to download the key is no longer available:

So how can you retrieve the key value if the Download button is no longer available? You can’t. If you've lost (or if you never saved) the key value, your only recourse is to create a new key.
-
Click Done, and then log off from the Apple developer center..
The downloaded key (with a file similar to AuthKey_MPVWT443KZ.p8) is a small text file (less than 300 bytes) which looks similar to this:
-----BEGIN PRIVATE KEY-----
MIGTAgEAMBMGByqGSM49AgEGCCqGSM49AwEHBHkwdwIBAQQg5af/YNd/MYi+uvn7``kbaLfMAfANzCiu4lsK2c9/HAZt2gCgYIKoZIzj0DAQehRANCAAT1DndKqU//Tbe8``t4osrgx3JcgRoxdroXPuzwJi6eeaZfPtFzNya2k7BaUSUjL2rxHUPDhcTh+myQN8``V9fjrbZn
-----END PRIVATE KEY-----
When configuring Sign In with Apple for social login, you must copy the entire file, including the lines **----BEGIN PRIVATE KEY----**and ----END PRIVATE KEY----.
Configure Sign In with Apple as a social login provider
To configure Sign In With Apple as a social login provider, make sure you have the following information at your disposal:
- Your Apple Developer Platform team ID.
- Your services identifier.
- Your private key ID.
- Your private key value.
Once you have the preceding information, you can then complete the following procedure:
-
Log on to your Social Login Dashboard (https://dashboard.janrain.com).
-
From the Dashboard home page, click the Manage Engage Dashboard icon.
-
From the Engage Dashboard home page, in the Widgets and SDKs section, click Sign-Ins.
-
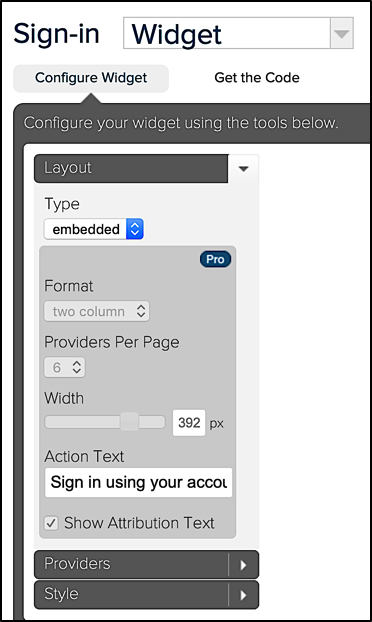
From the Sign-in page, verify that Widget is selected and then expand Providers:
-
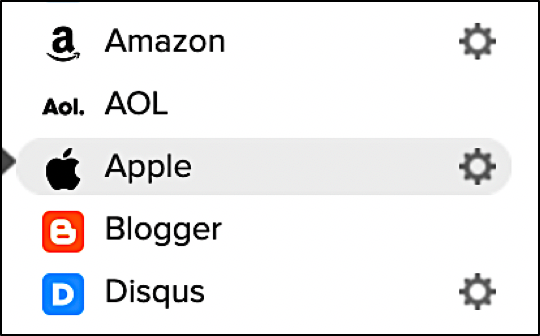
From the list of Providers, click Apple:
-
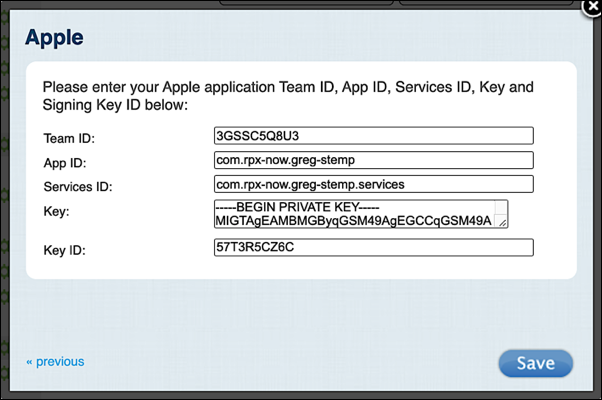
In the Apple dialog box, click Next until you reach the screen requesting information about your Sign In with Apple app:
-
In the Apple dialog box:
- Enter your team ID in the Team ID field.
- Enter your app’s Bundle ID in the App ID field.
- Enter your services identifier in the Services ID field.
- Enter your key value in the Key field.
- Enter your key ID in the Key ID field.
-
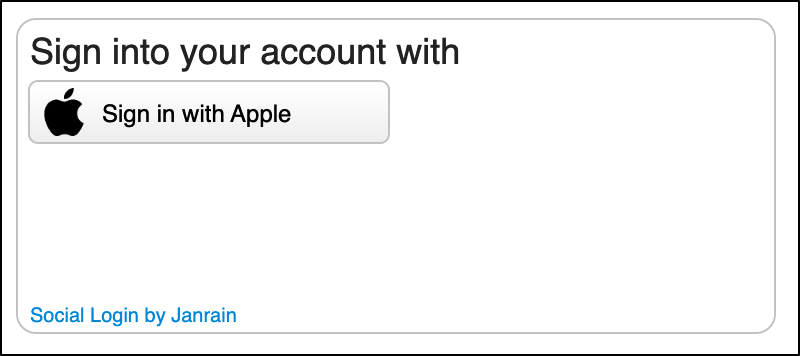
Click Save, and then click Close. Sign In with Apple appears in your social login widget:
-
When you are finished, select Save. Note that it might take as long as one hour before Sign In with Apple appears as a social login option on your web site.
Test Sign in With Apple as a social login provider
To test Sign in With Apple social login, complete the following procedure:
-
Do one of the following:
- If you have just published your widget settings, click the Test your widget link that appears after the widget has been saved.
- If you previously published your widget settings then, from the Engage Dashboard Sign-in page, click Launch a test widget.
-
From the Test page, click the Sign in with Apple icon:
-
In the Sign in with Apple ID dialog, logon using a valid Apple ID:

-
Complete the Apple login process.
Assign a different Sign in With Apple app for social login
If you want to use a different Sign in with Apple app or if you need to change your existing app, you must update the Apple provider configuration settings. To do that, complete the following procedure:
-
From the Engage Dashboard home page, click the Manage Providers icon.
-
On the Configure Providers page, click Apple.
-
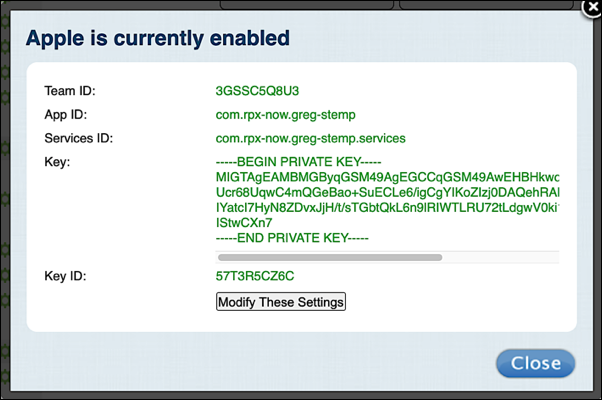
Click the green Configured button to display the Apple is currently enabled dialog box:
-
To change the Apple configuration, click Modify these settings.
-
In the Apple dialog box, change the Team ID, Services Id, Key and Key Value fields as needed, and then click Save:

Although you can modify your Sign in with Apple settings, you cannot delete these settings. If you delete the settings and try to save your changes, you’ll see the error message Please enter Team ID, App ID(use your bundle ID), Services ID, Key and Key ID.
This means that you cannot “unconfigure” the provider: once configured, the Apple icon will always be shown as green (i.e., configured) in the Social Login Dashboard.
Remove Sign in with Apple as a social login provider
If you no longer want to use Sign in with Apple for social login, you can remove Apple as a social login provider by completing the following procedure:
-
Log on to your Social Login Dashboard (https://dashboard.janrain.com).
-
From the Dashboard home page, click the Manage Engage Dashboard icon.
-
From the Dashboard home page, in the Widgets and SDKs section, click Sign-Ins.
-
From the Sign-in page, verify that Widget is selected and then expand Providers.
-
In the widget, click the X in the upper right corner of the Apple icon.
-
Scroll to the bottom of the page, select Save and Publish, and then click Publish. Apple no longer appears in the sign-on widget.
You must always have at least one social login provider in the widget. If you delete all the providers and then click Publish, you’ll see the error message Couldn’t save configuration: No providers.
Updated about 3 years ago
