LinkedIn OAuth 2.0 social login guide

LinkedIn is a business- and career-oriented social networking site with over 500 million registered users.
Before you begin
To use LinkedIn for social login you must:
-
Obtain a LinkedIn developer account from https://www.developer.linkedin.com.
-
Do one of the following:
- Open a previously-created LinkedIn application, and copy the client ID and client secret.
- Create a new LinkedIn application and copy the client ID and client secret.
-
Use the Social Login Dashboard and the LinkedIn client ID and client secret to configure LinkedIn as a social login provider.
Create a LinkedIn OAuth 2.0 app
This section walks you through the process of creating a LinkedIn OAuth 2.0 application for social login. If you have already have an application, see the Using an Existing LinkedIn Application for Social Login section of this documentation.
To create a LinkedIn app that uses OAuth 2.0 authentication, complete the following procedure:
-
Log on to the LinkedIn developers center (https://www.linkedin.com/developers/).
-
From your developers center home page, click Create app:

-
On the Create an app page, enter a name for your app in the Create an app field:

-
In the LinkedIn Page field, enter the name of the LinkedIn business you want to associate with your app. For example:

All apps must be associated with a LinkedIn page, and the owner of that page must give permission to associate the page with your app. If you don’t have a LinkedIn page to associate with an app, you can create your own page by clicking Create a new LinkedIn page.
-
Enter the URL of your privacy policy in the Privacy policy URL field:

-
Click Upload a logo and select an image file to server as the logo for your application:
The logo is displayed as part of the social login process and can be either a .PNG or a .JPG file. In addition, the file must be stored locally: you cannot upload a logo from a URL. Your logo should be relatively small (for example, 100 pixels by 100 pixels); however, LinkedIn will shrink your logo as best it can to fit the available space. After you make your selection the logo will be displayed on the Create an app page: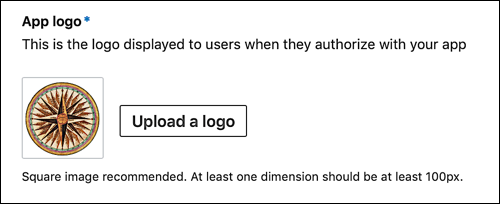
-
Select I have read and agree to these terms and then click Create app:

-
After your app is created, you’ll need to verify the LinkedIn page associated with the app. To do that, start by clicking Verify:

-
On the Verify company page, click Copy URL to copy the verification URL:

This URL must be sent to the owner of the LinkedIn page; the page owner can then give permission to associate the page with your app. If you’re the owner of the LinkedIn page you can paste this URL into the address bar of your web press, press ENTER, and then complete the verification process yourself. After the page has been verified, your App settings page will look something like this:

-
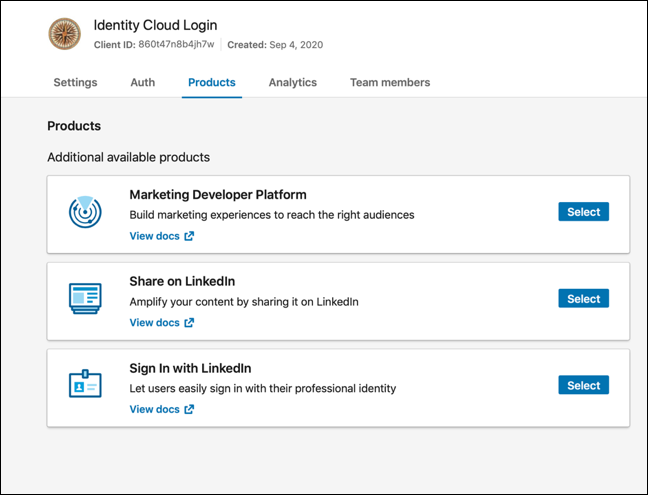
While you wait for the verification process to complete, click the Products tab and then click the Select button located next to Sign In with LinkedIn:
-
In the Add Sign In with LinkedIn dialog, select I have read and agree to these terms and then click Add product:

-
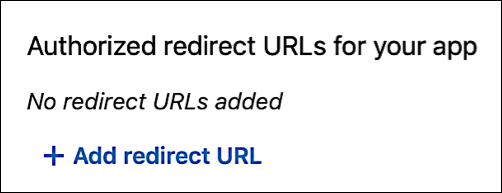
Click the Auth tab and then, near the bottom of the screen, click Add redirect URL:
-
Enter your redirect URI in the authorized redirect URLs for your app field and then click Update:

-
Copy your app’s Client ID, then click the Reveal client secret icon (the icon that looks like a little eyeball) to show the client secret:
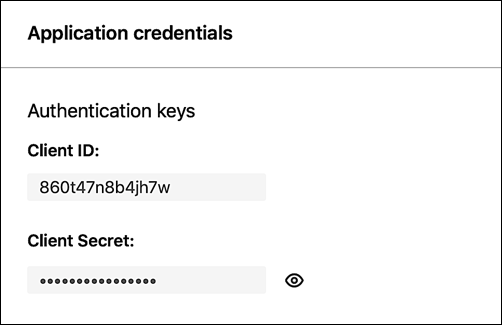
Copy the client secret. Both the client ID and the client secret are needed in order to configure LinkedIn for social login.
-
Log off from the LinkedIn developers center.
Use an existing LinkedIn OAuth 2.0 app for social login
If you already have a LinkedIn OAuth 2.0 application that can be used for social login, complete the following steps to retrieve the application’s client ID and client secret:
-
Log on to the LinkedIn developers center (https://www.linkedin.com/developers).
-
On the developer center home page, click My apps and then click the name of the app that you want to use for social login:

-
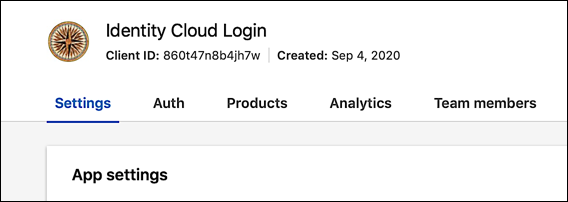
On the home page for your app, click the Auth tab:
-
On the Auth tab, click the Reveal client secret icon (the icon that looks like a little eyeball) to display your client secret:

-
Copy the client ID and client secret, and then log off from the LinkedIn developers center.
Configure LinkedIn OAuth 2.0 as a social login provider
To configure LinkedIn OAuth 2.0 as a social login provider, make sure you have your LinkedIn client ID and client secret, and then complete the following procedure:
-
Log on to your Social Login Dashboard (https://dashboard.janrain.com).
-
From the Dashboard home page, click the Manage Engage Dashboard icon.
-
From the Engage Dashboard home page, in the Widgets and SDKs section, click Sign-Ins.
-
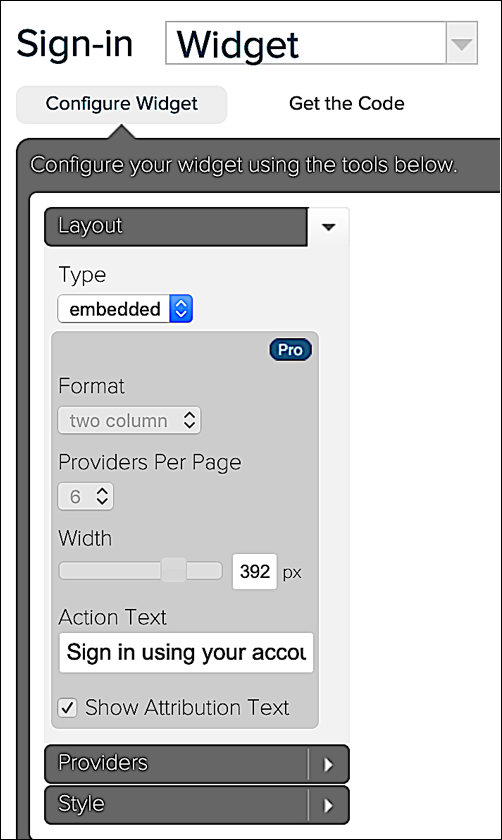
From the Sign-in page, verify that Widget is selected and then expand Providers:
-
From the list of Providers, click LinkedIn OAuth2:

-
In the LinkedIn OAuth 2 dialog box, click Next until you reach the screen requesting the LinkedIn Client ID and Client Secret:

-
Enter your LinkedIn client ID in the Client ID field, enter your LinkedIn client secret in the Client Secret field, click Save, and then click Close. LinkedIn appears in your social login widget:

-
When you are finished, click Save. Note that it might take as long as one hour before LinkedIn appears as a social login option on your web site.
Test LinkedIn OAuth 2.0 social login
To test LinkedIn OAuth 2.0 social login, complete the following procedure:
-
Do one of the following:
-
If you have just published your widget settings, click the Test your widget link that appears after the widget has been saved.
-
If you previously published your widget settings then, from the Social Login Dashboard Sign-in page, click Launch a test widget.
-
-
From the Test page, click the LinkedIn icon:

-
In the sign-in window, logon using a valid LinkedIn account:

-
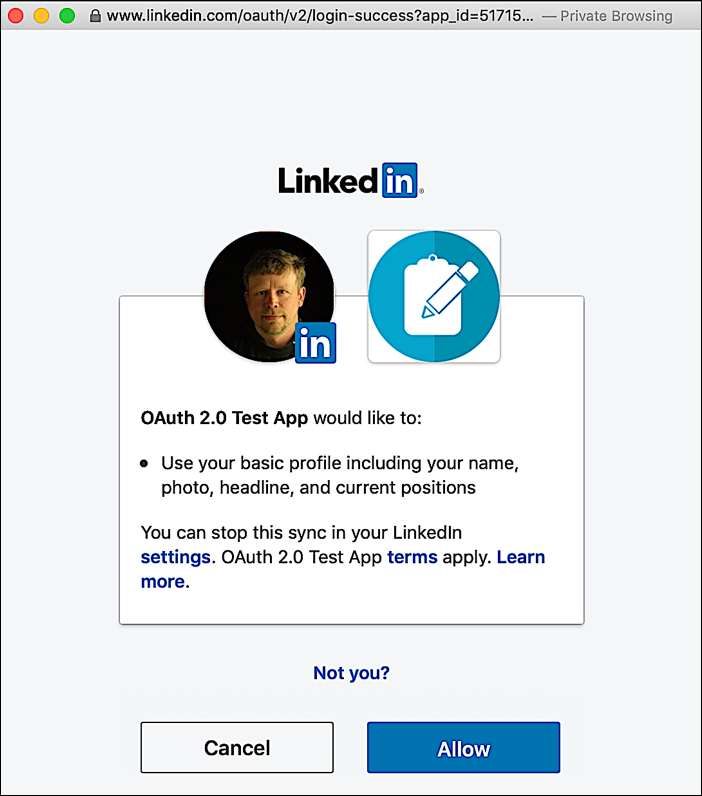
In the authorization window, click Allow:
-
If login succeeds, information returned from the LinkedIn profile is displayed in the API response preview field:
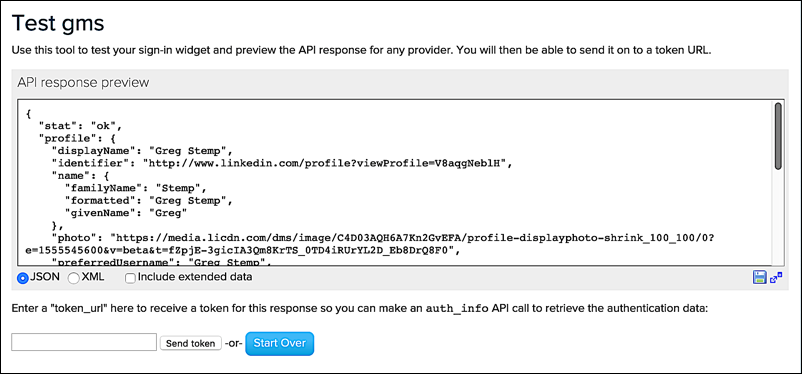
By default, your LinkedIn app returns information similar to the following:
{
  "stat": "ok",
  "profile": {
    "displayName": "Greg Stemp",
    "identifier": "http://www.linkedin.com/profile?viewProfile=V8aqgNeblH",
    "name": {
     "familyName": "Stemp",
      "formatted": "Greg Stemp",
      "givenName": "Greg"
    },
    "photo": "https://media.licdn.com/dms/image/C4D03AQH6A7Kn2GvEFA/profile-displayphoto-shrink\_100\_100/0?e=1555545600&v=beta&t=fZpjE-3gicIA3Qm8KrTS\_0TD4iRUrYL2D\_Eb8DrQ8F0",
    "preferredUsername": "Greg Stemp",
    "providerName": "LinkedIn",
    "providerSpecifier": "linkedin",
    "provider\_id": "V8aqgNeblH",
    "url": "http://www.linkedin.com/in/gregstemp"
  },
    "accessCredentials": {
    "accessToken": "AQXyfAEGXMVVHf4Sl8nx3oTfnKEyTdTxuM5jS8tEKeXv8b8mnEPL2pmgbHJzsV62asRGuvncQqLmHwAy2lkpYMPa8Z6lvX5rWpJPcf0UryROjS-qOjsgtWNpq9Z78OZ\_jRsAmyySqPA7K5fnQjSuuXbx1gF6AA6NgiXPyv28Tas2TQ2PvNsvXqT0YuoPIChT7iVrOQQm506\_\_RfO-BC-hS9GD8ynz-hUuEz1rMIhAo-iB-ZOgqPVWhDke0GVsiR\_PC-ZsnZ\_7N5S6Mh\_WJCbp8o4Q23NOxIuTT2XV1cKzampF\_7zlt671\_yZbLuJe2pf6fAUzaOIFuhklvNyjiOyT0Q9vM0Alg",
    "clientId": "865tmbm2k9clrg",
    "expires": 1555105404,
    "type": "linkedin-oauth2",
    "uid": "V8aqgNeblH"
   }
}
Return the User's Email Address
LinkedIn’s OAuth 2.0 default response includes only a handful of fields taken from the user’s LinkedIn profile; those fields include the following Akamai Identity Cloud attributes:
- displayName
- familyName
- givenName
- photo
- url
One useful piece of information missing from the default response is the user’s email address; if you want to retrieve the user’s email address you’ll need to complete the following procedure:
-
From the Social Login Dashboard home page, click the Manage Providers icon:

-
From the Configure Providers page, click LinkedIn OAuth2. Information that can be returned from LinkedIn is displayed:

-
Click Email Address to enable you to return the user’s email address:

That should do the trick.
Assign a different LinkedIn OAuth 2.0 app for social login
If you want to use a different LinkedIn OAuth 2.0 app or if you need to change your existing app, you must update the LinkedIn provider configuration settings. To do that, complete the following procedure:
-
From the Engage Dashboard home page, click the Manage Providers icon:

-
From the Configure Providers page, click LinkedIn OAuth2.
-
Click the green Configured button to display the LinkedIn OAuth2 is currently enabled dialog box:

-
To change the LinkedIn configuration, click Modify These Settings.
-
In the LinkedIn dialog box, change the Client ID and/or Client Secret as needed, and then click Save:

Although you can modify your LinkedIn settings, you cannot delete those settings. If you delete the settings and then try to save your changes, you’ll see the following error:

This means that you cannot “unconfigure” the provider: once configured, the LinkedIn icon will always be shown as green (i.e., configured) in the Social Login Dashboard.
Remove LinkedIn OAuth 2.0 as a social login provider
If you no longer want to use LinkedIn OAuth 2.0 for social login, you can remove the provider by completing the following procedure:
-
Log on to your Social Login Dashboard (https://dashboard.janrain.com).
-
From the Dashboard home page, click the Manage Engage Dashboard icon.
-
From the Engage Dashboard home page, in the Widgets and SDKs section, click Sign-Ins.
-
From the Sign-in page, verify that Widget is selected and then expand Providers.
-
In the widget, click the X in the upper right corner of the LinkedIn icon.
-
Scroll to the bottom of the page, select Save and Publish, and then click Publish. LinkedIn no longer appears in the sign-on widget.
You must always have at least one social login provider in the widget. If you delete all the providers and then click Publish, you’ll see the error message Couldn’t save configuration: No providers.
Updated almost 3 years ago
