Create a field
You can use the /config/{app}/flows/{flow}/fields operation and the POST method to add a field to a flow.
To create a new field, start by clicking Create Field:

Clicking Create Field brings up the Choose a Schema Attribute for your new field dialog:
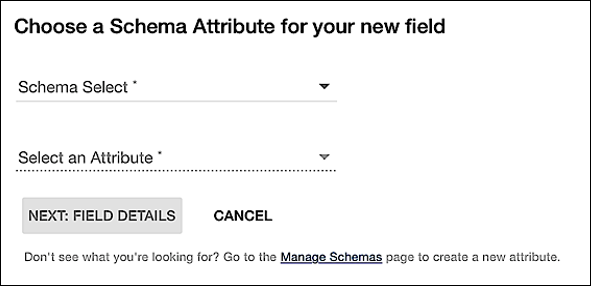
In this dialog, click the Schema Select dropdown and select the schema containing the attribute to be associated with the new field (all new fields must be associated with a schema attribute). After selecting the schema, click the Select an Attribute dropdown and choose the attribute itself. For example:
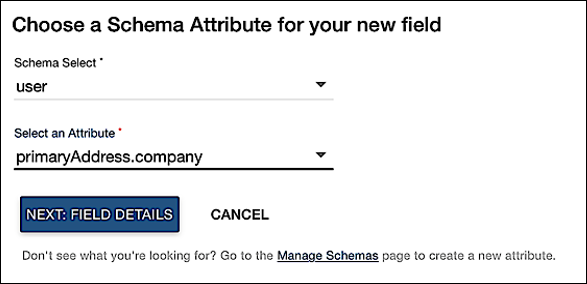
Yes, you must associate all new fields with a schema attribute, include translatableString fields, fields that have nothing to do with schema attributes. Instead, translatable strings are a special type of field that store the text values displayed on Identity Cloud screens. (In Hosted Login, nearly all the text you see on screen is mapped to a translatable string.) In other words, translatable strings do not store or display user data, but, when creating a translatableString field, you must still specify a schema attribute. That requirement will likely change in the future, but for now ....
Click Next: Field Details. On the Create Field page, select the locale for the field; note that the locales available to you depend on the locales already defined in the flow. After selecting a locale, enter a name for the new field. This name can be the same as your attribute name, or it can be different than your attribute name. That’s up to you:
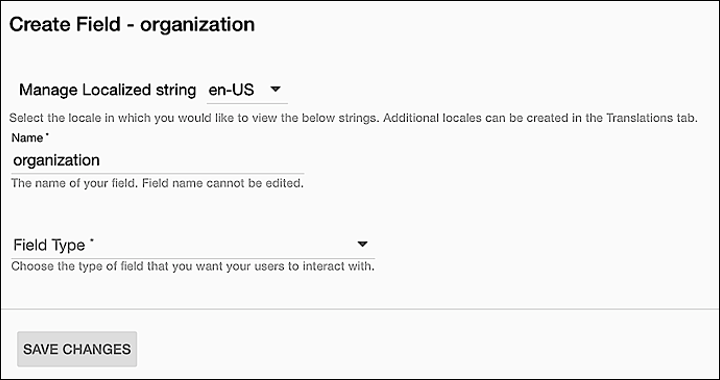
Click Field Type and then select the type of field you want to create. After you select a field type, the Advanced Options for that field will be displayed; the actual options shown will vary depending on the type of field you’ve chosen (see Advanced field options for more information on the options available for each field type):
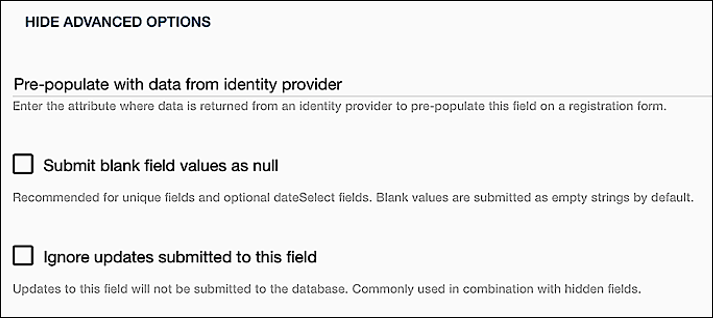
For the most part, advanced options are, well, optional. For example, if you select the textarea field type you’ll see the advanced options shown above. If you don’t want to fill in any of these options then just leave them unselected and continue creating the field.
Directly beneath the Advanced Options section you’ll see the Data Validations section:
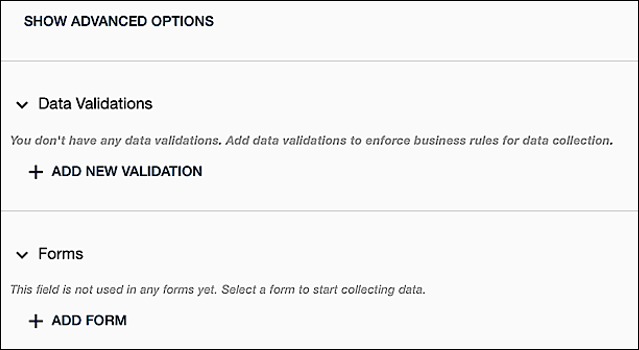
The data validations entered here are processed before you submit a form. For example, suppose you enter a Hosted Login Display Name that’s already being used by someone else. In that case, before you finish filling out the form and before you can click Create Account, you’ll see the following error message:

In addition to, or instead of, field-level validations you can also set data validations on schema attributes. Those validations are not processed until you do submit a form.
Data validations are always optional: you do not have to assign a data validation (or validations) to a field. In addition, the data validations available to you depend on the field type of your field. For example, there’s only one validation (required) available for a checkbox field:
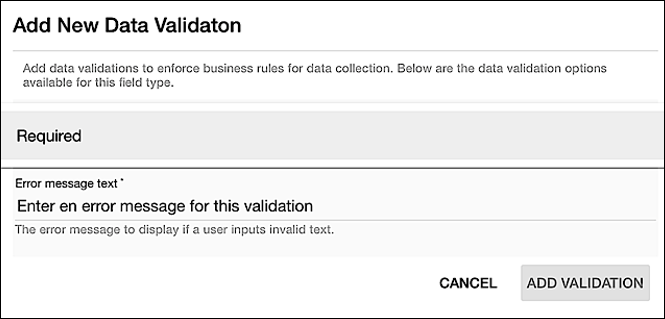
For more details on data validations, see Add data validations .
That leaves us with the Forms section:

The Forms section is also optional: you can create a field without assigning it to a form. Instead, fields can be assigned to (unassigned from) a form at any time, and either from the Fields tab or the Forms tab. However, if you do want to assign the field to one or more forms at the time the field is created, click Add Form and then, in the Add this field to one or more forms dialog, select all the forms you want the field to appear on:
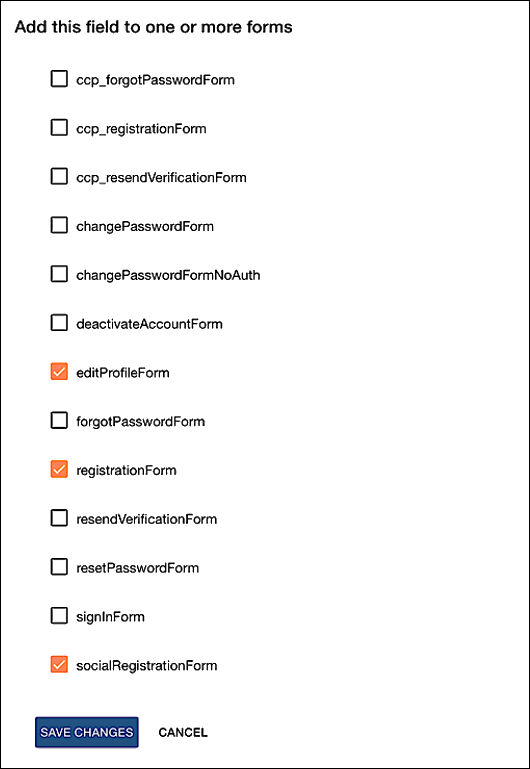
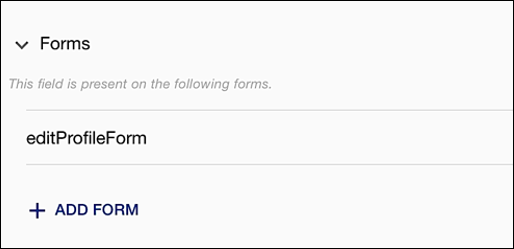
When you’re done, click Save Changes. After you save your changes, you’ll see a list of all the forms associated with the field:
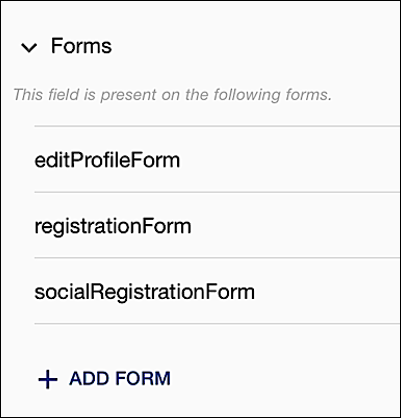
If you decide to remove a field from a form, all you have to do is click the Add Form link again and then de-select the form (or forms) in question. You should then be left only with the forms that you want the field to appear on:
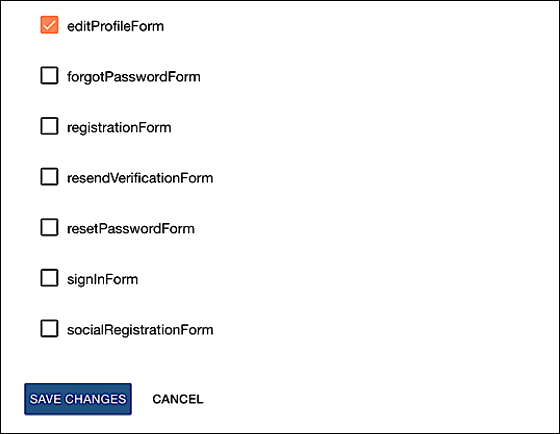
Click Save Changes, and the screen updates accordingly:
Before exiting, be sure and click Save Changes at the bottom of the screen:

Clicking this last button is the only way to save your newly-created form. Some of the other Save Changes buttons we’ve seen – like the one for configuring data validations or the one for adding the field to a form – only save those specific changes (like, say, adding the field to the editProfileForm form). However, they don’t save the form itself. Click this final button if you want to save your newly-created field.
Updated over 3 years ago
