LINE social login guide
LINE is a Tokyo-based subsidiary of the South Korean internet search giant Naver Corporation. LINE provides both mobile applications and Internet services.
Before you begin
To use LINE for social login you must:
-
Obtain a LINE developer account from https://developers.line.biz. Your organization might already have a LINE account. If it doesn’t, you can download the LINE app (for either Android or iOS), create a LINE account, and then log on to the developer site by using that account.
-
Do one of the following:
- Open a previously-created LINE app and copy the channel ID and channel secret.
- Create a new app and copy the channel ID and channel secret.
-
Use the Social Login Dashboard and your LINE channel ID and channel secret to configure LINE as a social login provider.
Create a LINE app for social login
To create a LINE app that can be used for social login, complete the following procedure:
-
Log on to the LINE Developer center (https://developers.line.biz) and then click LINE Login:
-
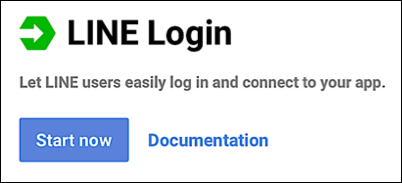
On the LINE Login page, click Start Now:
-
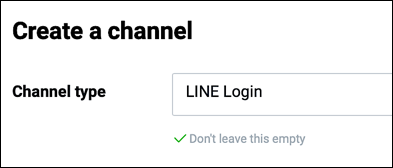
On the Create a Channel page, make sure that LINE Login has been selected in the Channel Type dropdown list:
-
From the Provider dropdown list, click Select a provider:

-
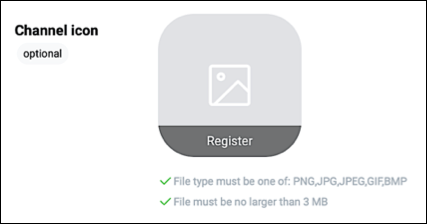
To add your organization’s icon to the LINE sign-in dialog box, click Register in the Channel icon section (note that adding an icon is optional):
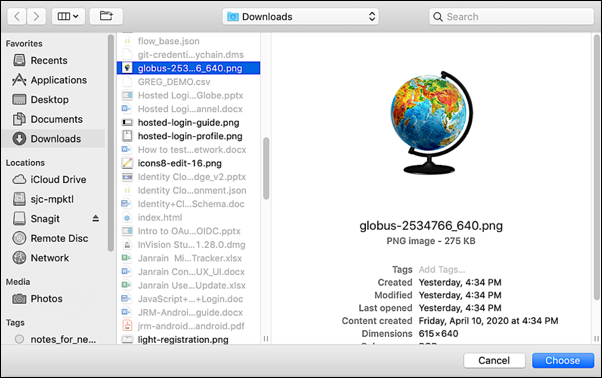
When the File Open dialog appears, select the appropriate icon file and then, depending on your operating system, click Choose or OK:
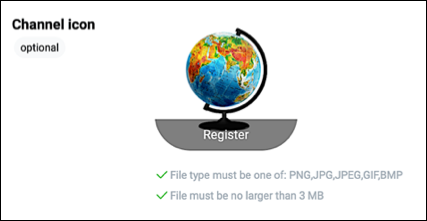
The selected icon should appear in the Channel icon section:
-
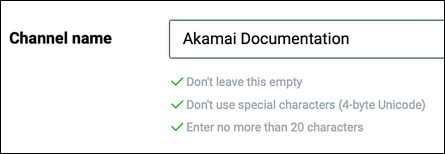
In the Channel name field, enter a name for your new channel (in LINE, a channel serves as a connection between your app and the LINE service):
-
In the Channel description field, enter a brief description of the channel and what it will be used for:

Note that channel descriptions are optional; if you prefer, you can leave this field blank.
-
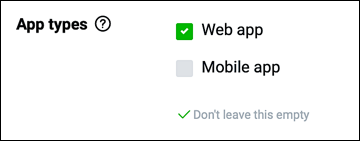
In the App Types section select the type of login you want to support. For this documentation, we’ll cover web app logins:
-
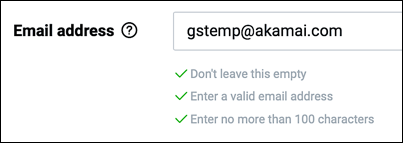
In the Email address field, enter the email address to be used for communications with LINE:
-
In the Privacy policy URL field enter the URL to your organization’s privacy policy:

Note that this field is optional: if you prefer, you can leave Privacy policy URL blank.
-
In the Terms of use field, enter the URL to your organization’s terms-of-service policy:

Like the privacy policy, the Terms of use URL is optional: if you prefer, you can leave this field blank.
-
At the bottom of the page, select I have read and agree to the LINE Developers Agreement and then click Create:
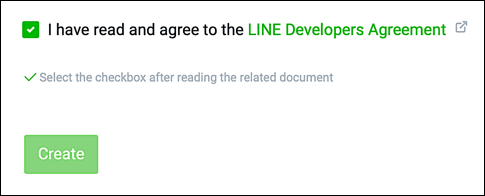
Your new channel will be created, and the screen will update:
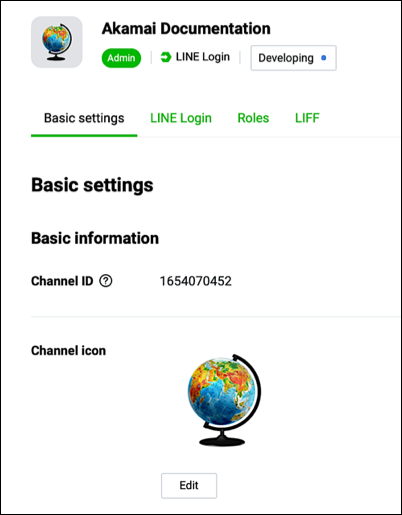
On the updated screen, click the LINE Login tab.
-
On the LINE Login tab, make sure that Web App has been selected and then click Edit:
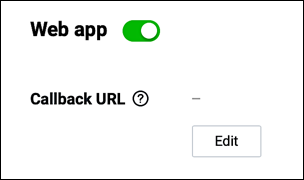
-
In the Callback URL field, enter the URL of the page users should be redirected to following a successful LINE login and then click Update:
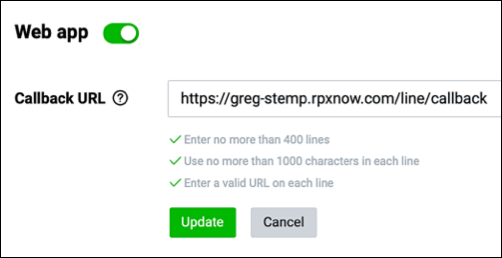
If you aren’t sure what to enter in this field, then, in the Social Login Dashboard, click Providers and then click Line to view your callback URL:

-
Click the Basic settings tab.
-
If you would like to have a user’s email address returned as part of the API response following a successful login to LINE, scroll down the page to the OpenID Connect section:
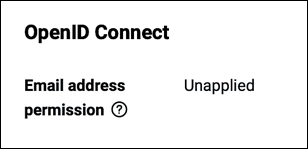
-
Click Apply:

-
In the Request for email permission section, select the two checkboxes:
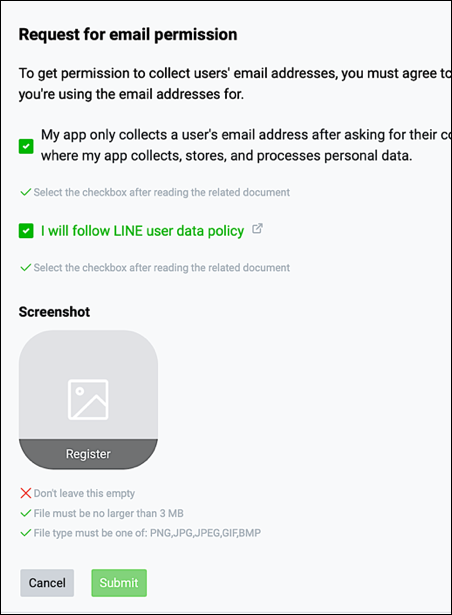
In order to return email addresses following a LINE login you must include a screenshot of your website that: 1) shows how you will request a user’s permission to collect his or her email address, and, 2) explains to the user how that address will be used. If you have a screenshot like that, click the Register icon, select the screenshot file, and then click Submit. If you don’t have a screenshot available, click Cancel. You can always return to the channel later on to complete the procedure and request user email addresses.
Note, too that you must still specifically request to get back the email address when configuring LINE as a social login provider. See the section Configuring LINE as a Social Login Provider for more information.
-
Scroll up the page and note your channel secret:

-
Continue scrolling up the page and note the channel ID:

The channel ID and the channel secret are required to configure LINE as a social login provider.
Note that you do not have to save any changes made to your channel: any updates you make at this point are automatically saved.
Use an existing LINE app for social login
If you already have a LINE social login app, complete the following steps to retrieve the app’s channel ID and channel secret:
-
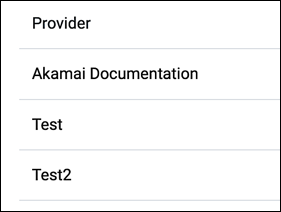
Log on to the LINE Developer center (https://developers.line.biz) and then click the channel containing the app you want to use for social login:
-
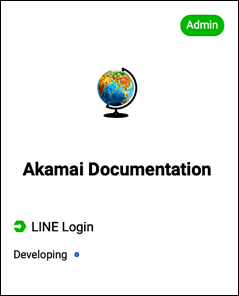
On the home page, click the Admin card for the channel:
-
From the home page for your app, scroll down the page and copy the Channel ID:

-
Continue to scroll down the page and copy the Channel Secret:

The channel ID and secret can be stored in a text file (or, preferably a more secure location) until after you have configured LINE for social login.
-
Log off from the LINE Developer center.
Configure LINE as a social login provider
To configure LINE as a social login provider, make sure you have your LINE channel ID and channel secret, and then complete the following procedure:
-
Log on to your Social Login Dashboard (https://dashboard.janrain.com).
-
From the Dashboard home page, click the Manage Engage Dashboard icon.
-
From the Engage Dashboard home page, in the Widgets and SDKs section, click Sign-Ins.
-
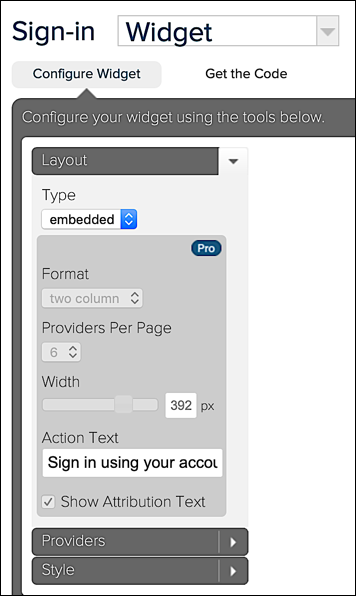
From the Sign-in page, verify that Widget is selected and then expand Providers:
-
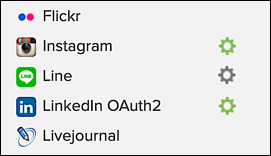
From the list of Providers, click Line:
-
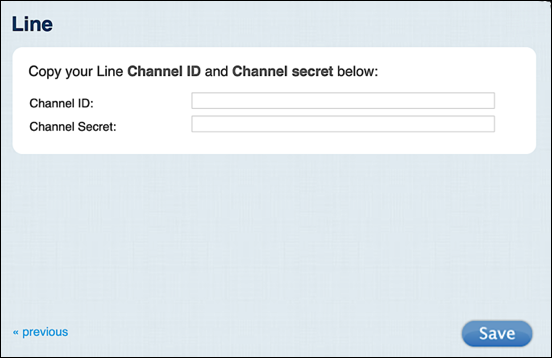
In the Line dialog box, click Next until you reach the screen requesting the LINE Channel ID and Channel Secret:
-
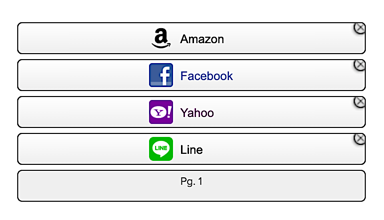
Enter your LINE channel ID in the Channel ID field, enter your LINE channel secret in the Channel Secret field, click Save, and then click Close. LINE appears in your social login widget:
-
When you are finished, select Save. Note that it might take as long as one hour before LINE appears as a social login option on your web site.
-
If you want to get back the user’s email address following a successful login, first make sure that you have configured your LINE app to return that information (see the section Creating a LINE App for Social Login). Once your app is configured then, in the Social Login Dashboard, go to the Providers section and click Line. In the configuration settings for LINE, you'll see the following set of LINE scopes:

Two of these scopes -- Email Address and Profile -- are available to anyone who has a LINE developer account; the remaining scopes (e.g., Birth Date) can only be used if you have a LINE Profile+ account. (Anyone can select these scopes, but the associated user profile information is only returned if you have a Profile+ account.) For more information, see the article Retrieve user information with LINE Profile+.
Test LINE social login
To test LINE social login, complete the following procedure:
-
Do one of the following:
-
If you have just published your widget settings, click the Test your widget link that appears after the widget has been saved.
-
If you previously published your widget settings then, from the Engage Dashboard Sign-in page, click Launch a test widget.
-
-
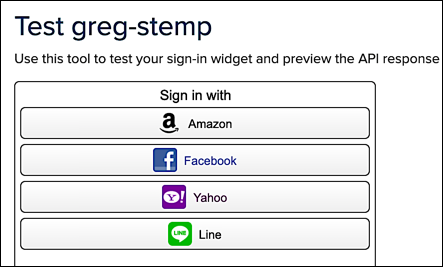
From the Test page, click the Line icon:
-
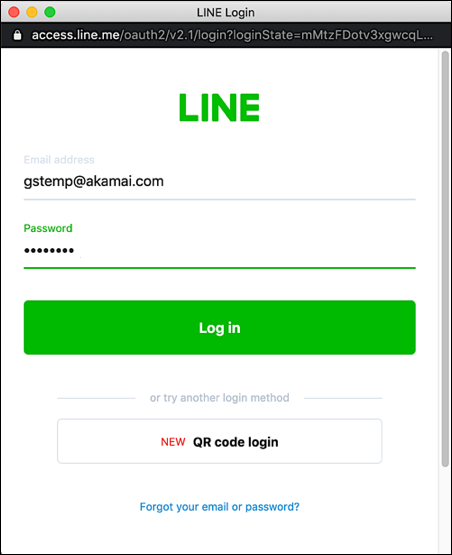
In the sign-in window, enter your LINE account name (email address) in the Email address field, enter your LINE password in the Password field, and then click Log in:
-
In the permissions dialog box, click Allow:

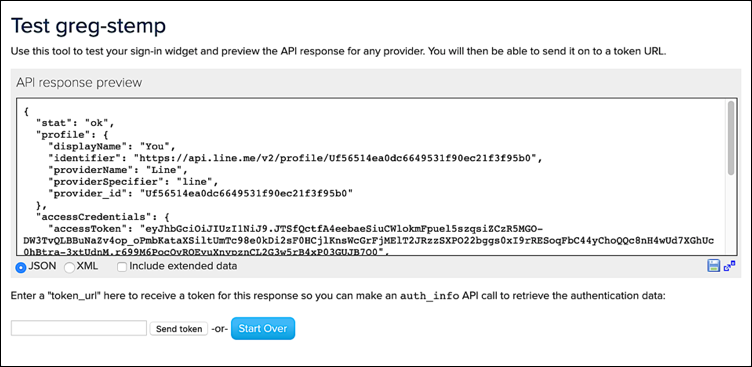
If login succeeds, information returned from the LINE profile is displayed in the API response preview field in the Social Login Dashboard:
Assign a different LINE app for social login
If you want to use a different LINE app, or if you need to change your existing app, you must update the LINE provider configuration settings. To do that, complete the following procedure:
-
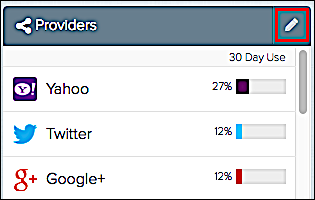
From the Engage Dashboard home page, click the Manage Providers icon:
-
On the Configure Providers page, click Line.
-
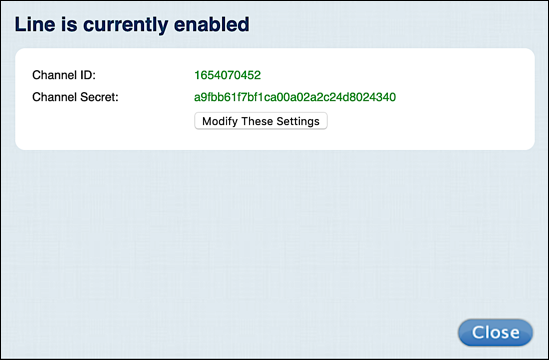
Click the green Configured button to display the Line is currently enabled dialog box:
-
To change the LINE configuration, click Modify these settings.
-
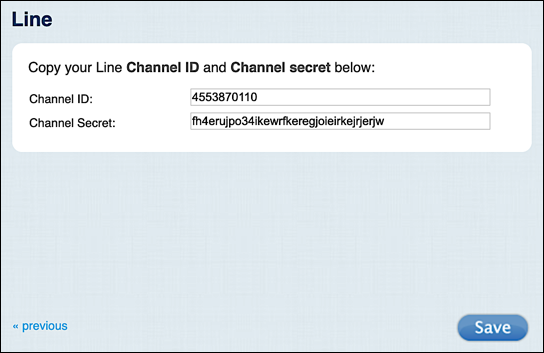
In the Line dialog box, change the Channel ID and/or Channel Secret as needed, and then click Save:
Although you can modify your LINE settings, you cannot delete these settings. If you delete the settings and try to save your changes, you’ll see the error message Please enter both the ID and secret.
This means that you cannot “unconfigure” the provider: once configured, the LINE icon will always be shown as green (i.e., configured) in the Social Login Dashboard.
Use LINE as a social login provider for Hosted Login
By default, Hosted Login uses the same set of social login providers as those configured in the Social Login Dashboard. For example, suppose your Social Login Dashboard widget looks like this:
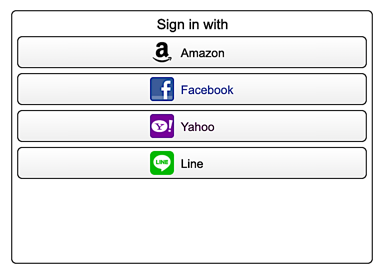
In that case, your Hosted Login sign-in screen will look like the following:
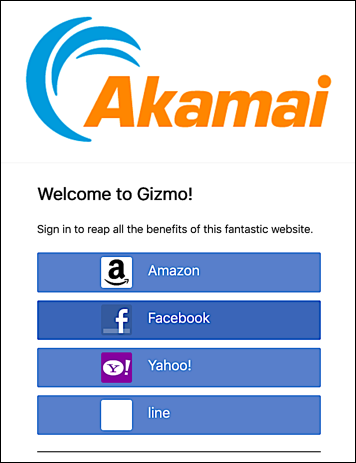
Of course, this only happens if you’ve configured social login for Hosted Login.
However, you might have added the authentication.providers setting to Hosted Login; in that case, Hosted Login uses only the social login identity providers specified in that setting. To add LINE to your collection of social login IdPs, simply add "line" to the comma-separated setting value. For example:

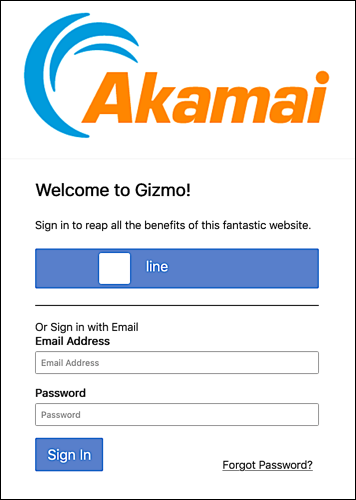
To use just LINE as a social login identity provider, set the value of the authentication.providers setting like this:

If you do that, LINE will be the only IdP available from the sign-in screen:
Remove LINE as a social login provider
If you no longer want to use LINE for social login, you can remove the IdP as a social login provider by completing the following procedure:
-
Log on to your Social Login Dashboard (https://dashboard.janrain.com).
-
From the Dashboard home page, click the Manage Engage Dashboard icon.
-
From the Engage Dashboard home page, in the Widgets and SDKs section, click Sign-Ins.
-
From the Sign-in page, verify that Widget is selected and then expand Providers.
-
In the widget, click the X in the upper right corner of the LINE icon.
-
Scroll to the bottom of the page, select Save and Publish, and then click Publish. LINE no longer appears in the sign-on widget.
You must always have at least one social login provider in the widget. If you delete all the providers and then click Publish, you’ll see the error message Couldn’t save configuration: No providers.
Updated almost 4 years ago
