Configure hostnames in a bucket
Hostname buckets are primarily intended for SaaS/PaaS providers who manage tens of thousands custom domain hostnames. If you enable buckets while creating a property, you can add or remove hostnames from the property level, without incrementing the property version. You also can safely make changes to the property configuration logic and roll them back without the risk of accidentally removing hostnames and disturbing the traffic to your sites.
You may want to create multiple hostname bucket properties if you have various types of application instances with different delivery needs.
Hostname Buckets and Adaptive Media Delivery
Currently, Hostname Buckets are not supported with Adaptive Media Delivery (AMD) properties.
Initial setup
Before you start provisioning thousands of your hostnames, you need to set up a common configuration they'll all share.
-
On your DNS server, set up a DNS zone to manage the origin hostnames. Typically, you'll need a separate origin hostname for each property hostname you add to the bucket, so that each property hostname has its own SaaS application backend instance. You can also use Akamai Edge DNS for that purpose.
-
Create a brand-new property, selecting the Hostname bucket checkbox.

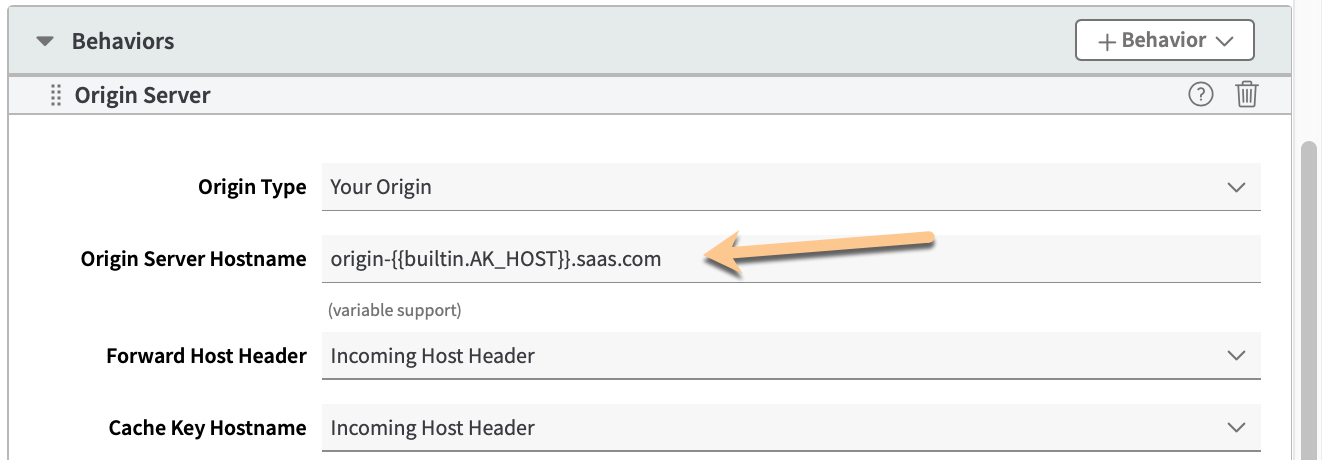
a. In the Property Manager Editor, configure the property to suit your delivery needs. In the Origin Server behavior, define a pattern that you'll use for naming your origin hostnames. For example, prepend
origin-and append the.saas.comdomain to the property hostname, for which you'll use the AK_HOST built-in variable.
If you set SaaS Dynamic Origin as your Origin Type, you can use other parts of the request to identify the origin in your pattern, such as cookie, path or query string.
b. You just need a single CP code for all the hostnames you add to the bucket. You can create a new CP code or use an existing one.
-
Activate your property on both staging and production.
Updated about 2 years ago
