
Manage VPCs
View VPCs
Log in to Cloud Manager and select VPC in the sidebar. If any VPCs exist on your account, they are listed on this page.
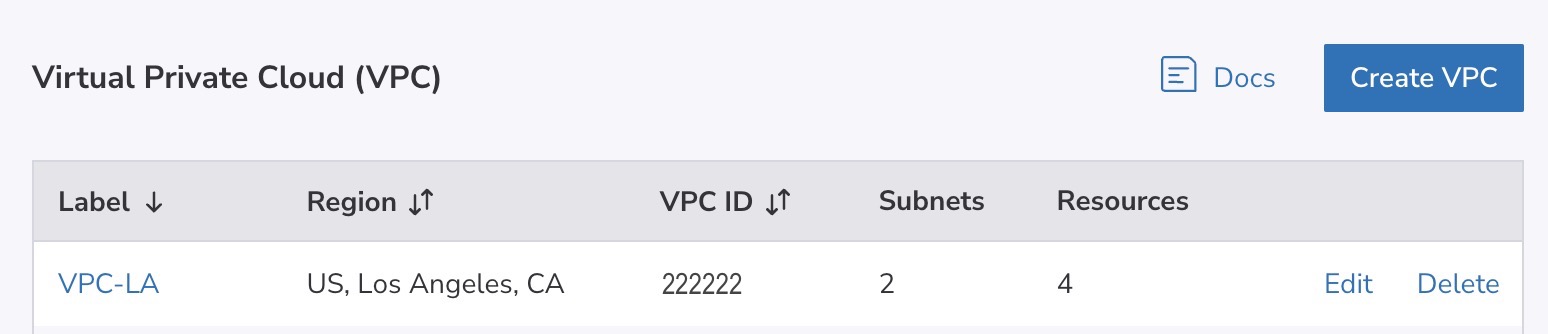
Each VPC is listed along with the region it is located within, its ID, the number of subnets, and the number of resources (Linodes, NodeBalancers, Managed Databases, and NodeBalancers) that are assigned.
Review and edit a VPC
Navigate to the VPCs page in Cloud Manager and locate the VPC you wish to edit. See View VPCs. Click the name of the VPC to be taken to its details page. This displays the summary of the VPC along with a list of subnets within the VPC.
In the Subnets table:
- Subnet details: Review the Subnet ID, Subnet IPv4 Range, Subnet IPv6 Range, and Resources count for each subnet.
- NAT Gateway assignment: The NAT Gateway column displays the label of any NAT Gateway currently attached to the subnet. Click the NAT Gateway label to navigate directly to its details page.
- Assigned Linodes: Click the down arrow (v) next to a subnet label to expand its row and view assigned resources, including their status, assigned VPC IP addresses, and active Cloud Firewalls.
To edit the VPC label or description, click the Edit button within the Summary section. Note that data center assignments can't be changed after creation.
Create a VPC
To add a new VPC on your account, follow the Create a VPC instructions.
Delete a VPC
A VPC can be deleted using the Delete button next to the VPC you wish to delete on the main VPC page. It can also be deleted when viewing that VPCs details page by clicking the Delete button within the Summary section.
Only a VPC without any Linodes or NodeBalancers or associated NAT Gateways resources can be deleted. Ensure you detach or delete any NAT Gateways and review the Remove Linodes from a VPC workflow before attempting deletion.
Updated 11 days ago