Capture an image
Here we cover how to capture the disk from an existing Linode and save it as an image. This stores it for you so you can quickly create new Linodes using the image.
Requirements and considerations
When capturing an image file from an existing Linode, consider these points:
-
Maximum disk size for an image. This is currently 6 GB*. To check the internal disk usage:
-
Log in to the Cloud Manager.
-
Select Linodes.
-
Find the target Linode and click Launch LISH Console.
-
Run
df -h. -
Locate the disk in the output and review the value in the
Usedcolumn.
-
-
The disk's internal storage needs to be 10% less than your account's image size limit. With the default image size limit of 6 GB, your disk's storage usage should be under 5.4 GB. Have a look at Check and Clean a Linux System's Disk Space for some tips on managing space.
-
The disk needs to be formatted using ext3 or ext4 file systems. An images can't be captured if you're using a raw disk or a disk you've formatted using a custom file system. CoreOS disk images are in RAW format. You can't use an image made from a CoreOS disk to deploy a new Linode.
-
Power off a Linode to avoid database corruption. If your Linode is running an active database, you should power off the Linode before you create an image. If you leave a database active in a running Linode, you may see corruption or data loss in the imaged copy of the database.
-
Only the selected disk is saved to the image. When capturing an image, other aspects of the Linode aren't stored. This includes Configuration Profiles, Block Storage Volumes, IP addresses, and all other Linode-based settings.
-
Account limits. Your account can store up to 25* custom images, offering 150 GB* of combined storage for all images.
-
Pricing. Custom images are billed monthly at $0.10 per GB, based on the uncompressed image size."
* If you need to store larger images or more images, contact Support with details on your applications or intended workloads.
Capture an image
There are multiple methods you can use to capture an image.
New images are encrypted
When you capture a new image, we automatically encrypt it for its protection. Images remain encrypted at rest, in storage, in caching, and in transit. When you deploy an image, we automatically decrypt the contents for you.
When you're sure your target Linode disk is compatible, you can create an image of it in Cloud Manager.
-
Log in to Cloud Manager.
-
Open COMPUTE from the left-hand menu.
-
Select Images and click Create Image.
-
Select the Capture Image tab.
-
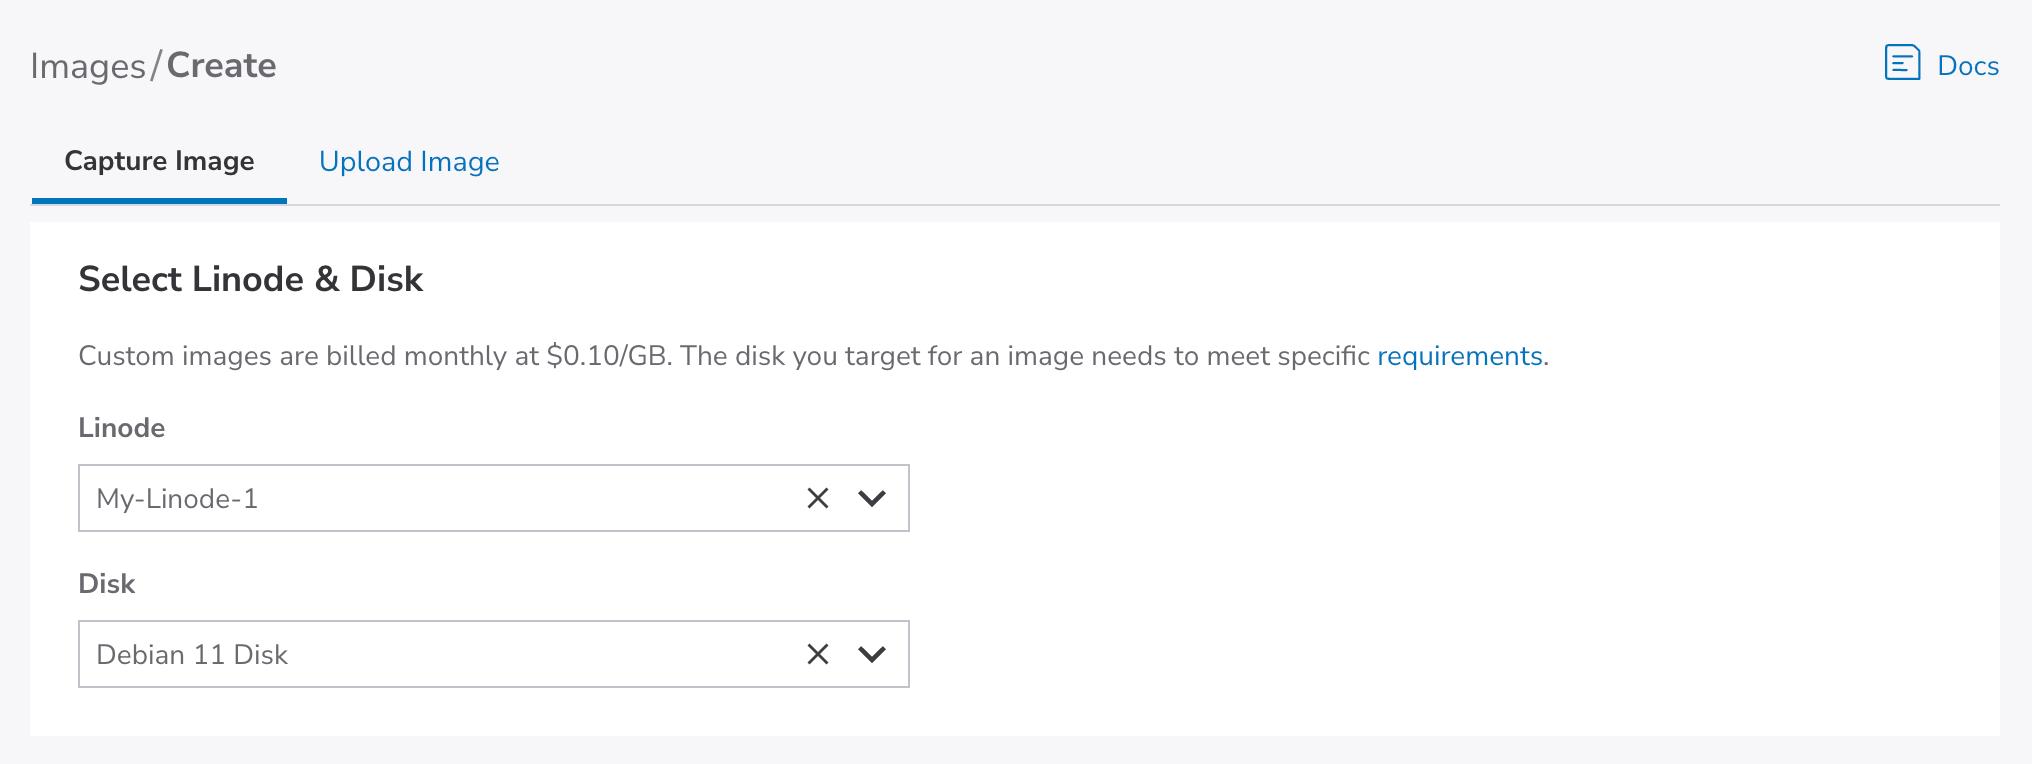
Set the Select Linode & Disk options:
-
Linode. Select the Linode that houses the disk you want to use for your image.
-
Disk. Select the specific disk you want to use for your image.
-

-
Set the Image Details options:
-
Label. This defaults to the names of the Linode and Disk you've selected. You can optionally change this to another easy-to-recognize name for the image.
-
This image is cloud-init compatible. Enable this if you want the image to support cloud-init. Many Linode-supported distributions are compatible with it by default, or you may have installed cloud-init. Our Metadata service is designed to be consumed by cloud-init.
-
Add Tags. For organizational purposes, you can enter a tag to group similar objects under a specific value. Once you set one, you can select it again with other images.
-
Description. Optionally add some text to describe your image.
-
-
Click Create Image.
You're redirected to the main Images page. Your new image is displayed in the Custom Images table, with a Status of Creating {X}%. Once it's ready, Cloud Manager changes its status to Available. The Size of the image is based on the disk's usage, not the size of the disk itself.

The Linode API
We offer a full-function API you can use to create and manage images. Check out its documentation.
Updated 4 months ago
