Deploy an image to a new Linode
Follow these steps to deploy your stored image as a disk in a new Linode.
A Linode can have up to 50 disks.
-
Log in to Cloud Manager and navigate to the Images page.
-
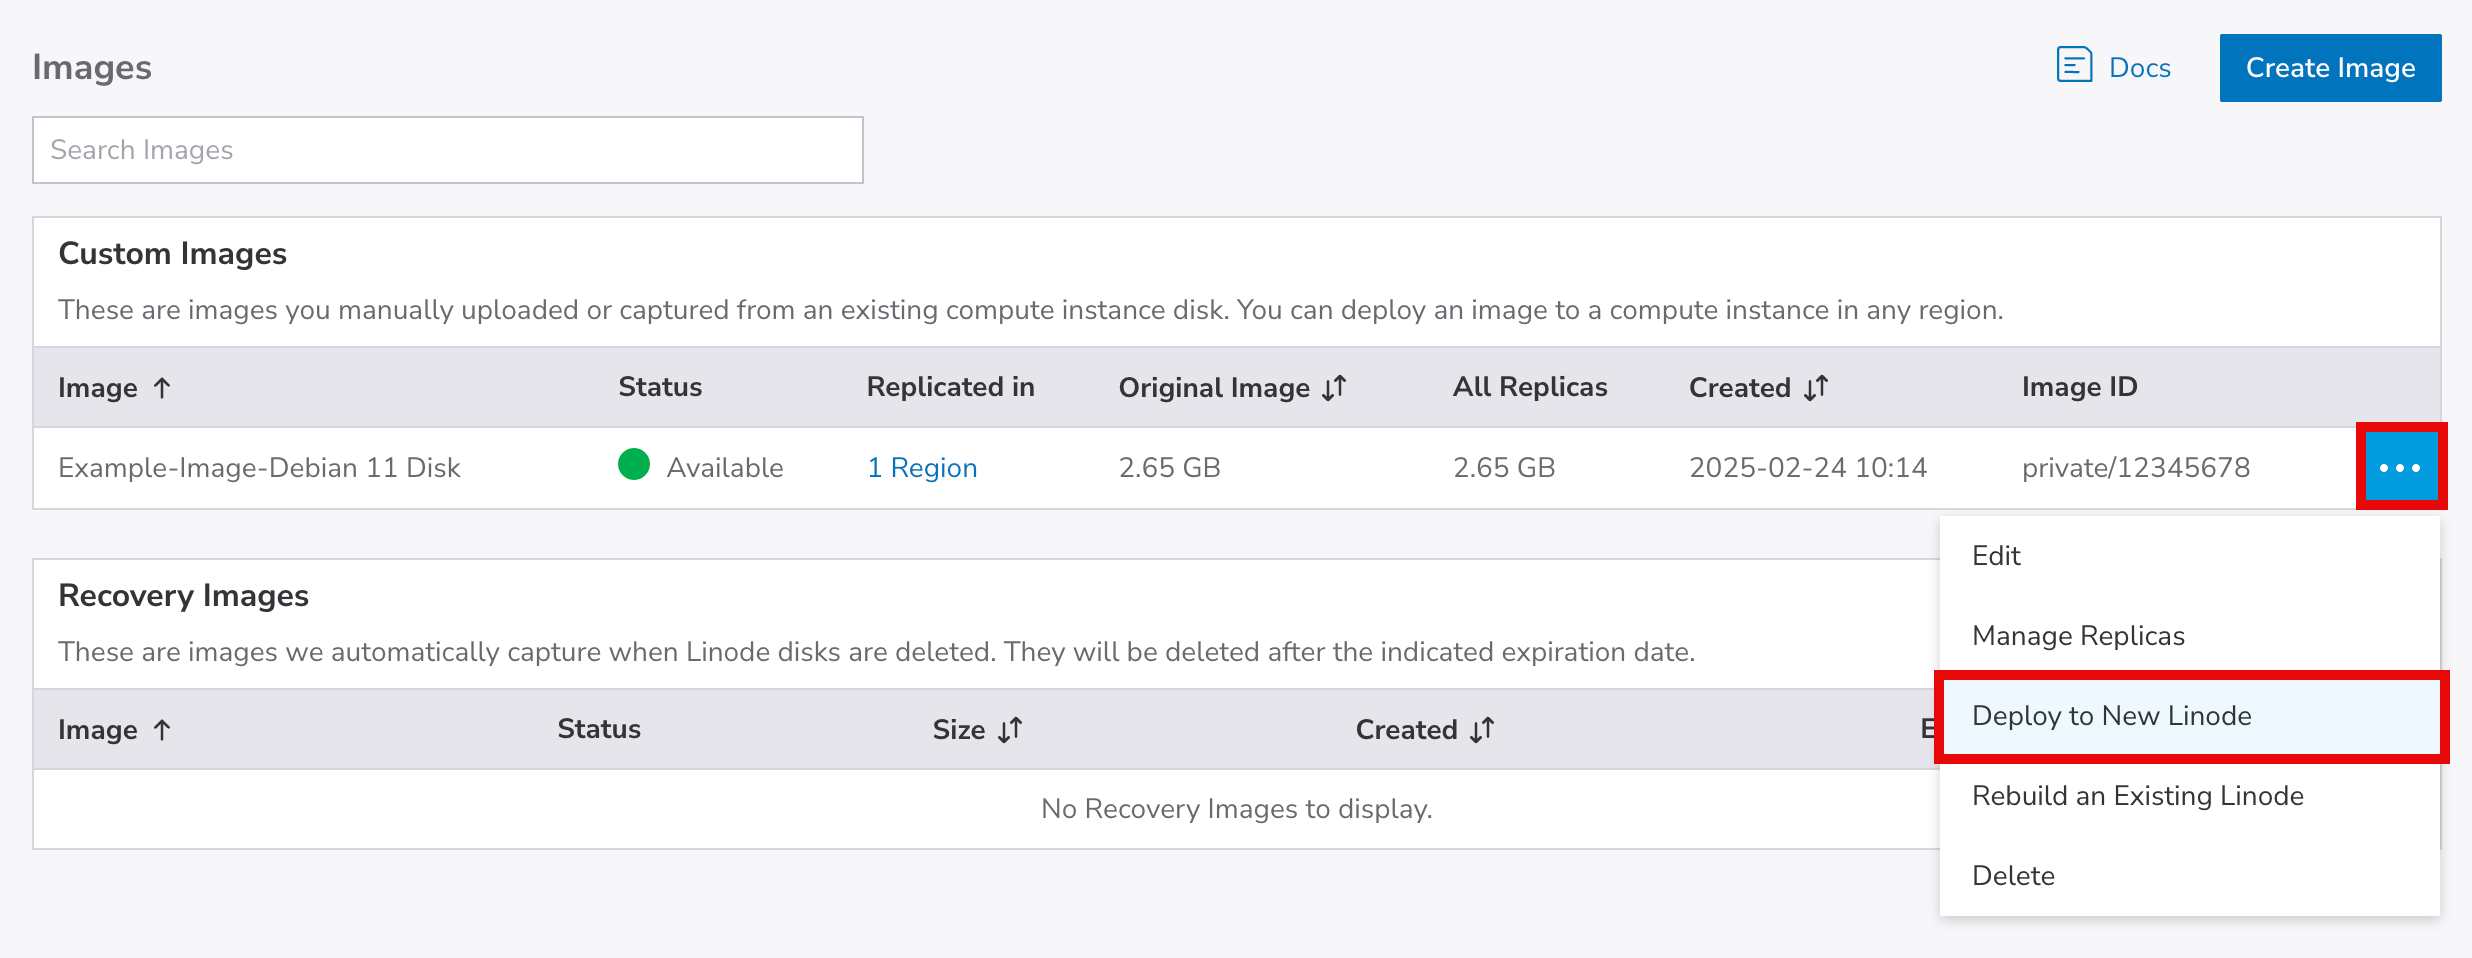
Locate the Image you want to use, click its ellipsis options menu, and select Deploy to a New Linode.
-
The Create Linode form is revealed. Specifically set these options:
- Region. You can deploy a saved image to any compatible region:
- Custom image. This is an image you created, either a captured image or an uploaded image . These can be deployed to any region. (These are what we call second generation images.)
- Recovery image. This image is automatically generated after you delete a Linode. These are generated using our legacy, first generation image service. These can only be deployed to core compute regions. (The list available in the Regions drop-down is limited to core compute regions.)
See Regions and images for complete details on region support.
- Choose an Image. Your image is default selected here. Leave this as is.
- Linode Plan. Select an appropriate plan for your image. The plan size needs to accommodate the size of the disk in your image.
- Region. You can deploy a saved image to any compatible region:
-
Set the remaining options as necessary. See Create a Linode for details on thee options.
-
Click the Create Linode button to create the Linode based on the selected Image.
The Linode API
We offer a full-function API you can use to create and manage images. We offer a workflow for this process with the API.
Troubleshooting
If you can't access your new Linode through SSH or it doesn't respond to pings, check to see if Network Helper is enabled. If it's disabled, the internal network configuration on your new Linode is not automatically configured. In this case, you can do either of the following:
- Enable Network Helper and reboot.
- Manually edit your network configuration files and reboot.
Updated about 1 month ago