Create a Linode in a distributed compute region
This topic focuses on distributed compute regions. If you need help creating and deploying a Linode to a core compute region, see Create a Linode.
Creating a Linode in a distributed compute region follows a process similar to creating a Linode in a core compute region, with key differences in the available plan types and services.
You can deploy a Dedicated CPU Linode in a distributed compute region using Cloud Manager, the Linode API, or the Linode CLI. You can also use our official Terraform Provider to provision Akamai Cloud resources.
This guide walks you through creating a Linode in a distributed compute region using Cloud Manager.
Steps to create a Linode
- Review the Before you begin section
- Open the Create form in Cloud Manager
- Select a region
- Select a distribution
- Select a plan
- Set the label and add tags
- Set up security
- Assign a Cloud Firewall (recommended)
- Assign to a VLAN (optional)
- Add user data
- Deploy your Linode
- Verify your Linode
Before you begin
Review the Set up and secure a Linode for all setup and security recommendations upon creating your Linode.
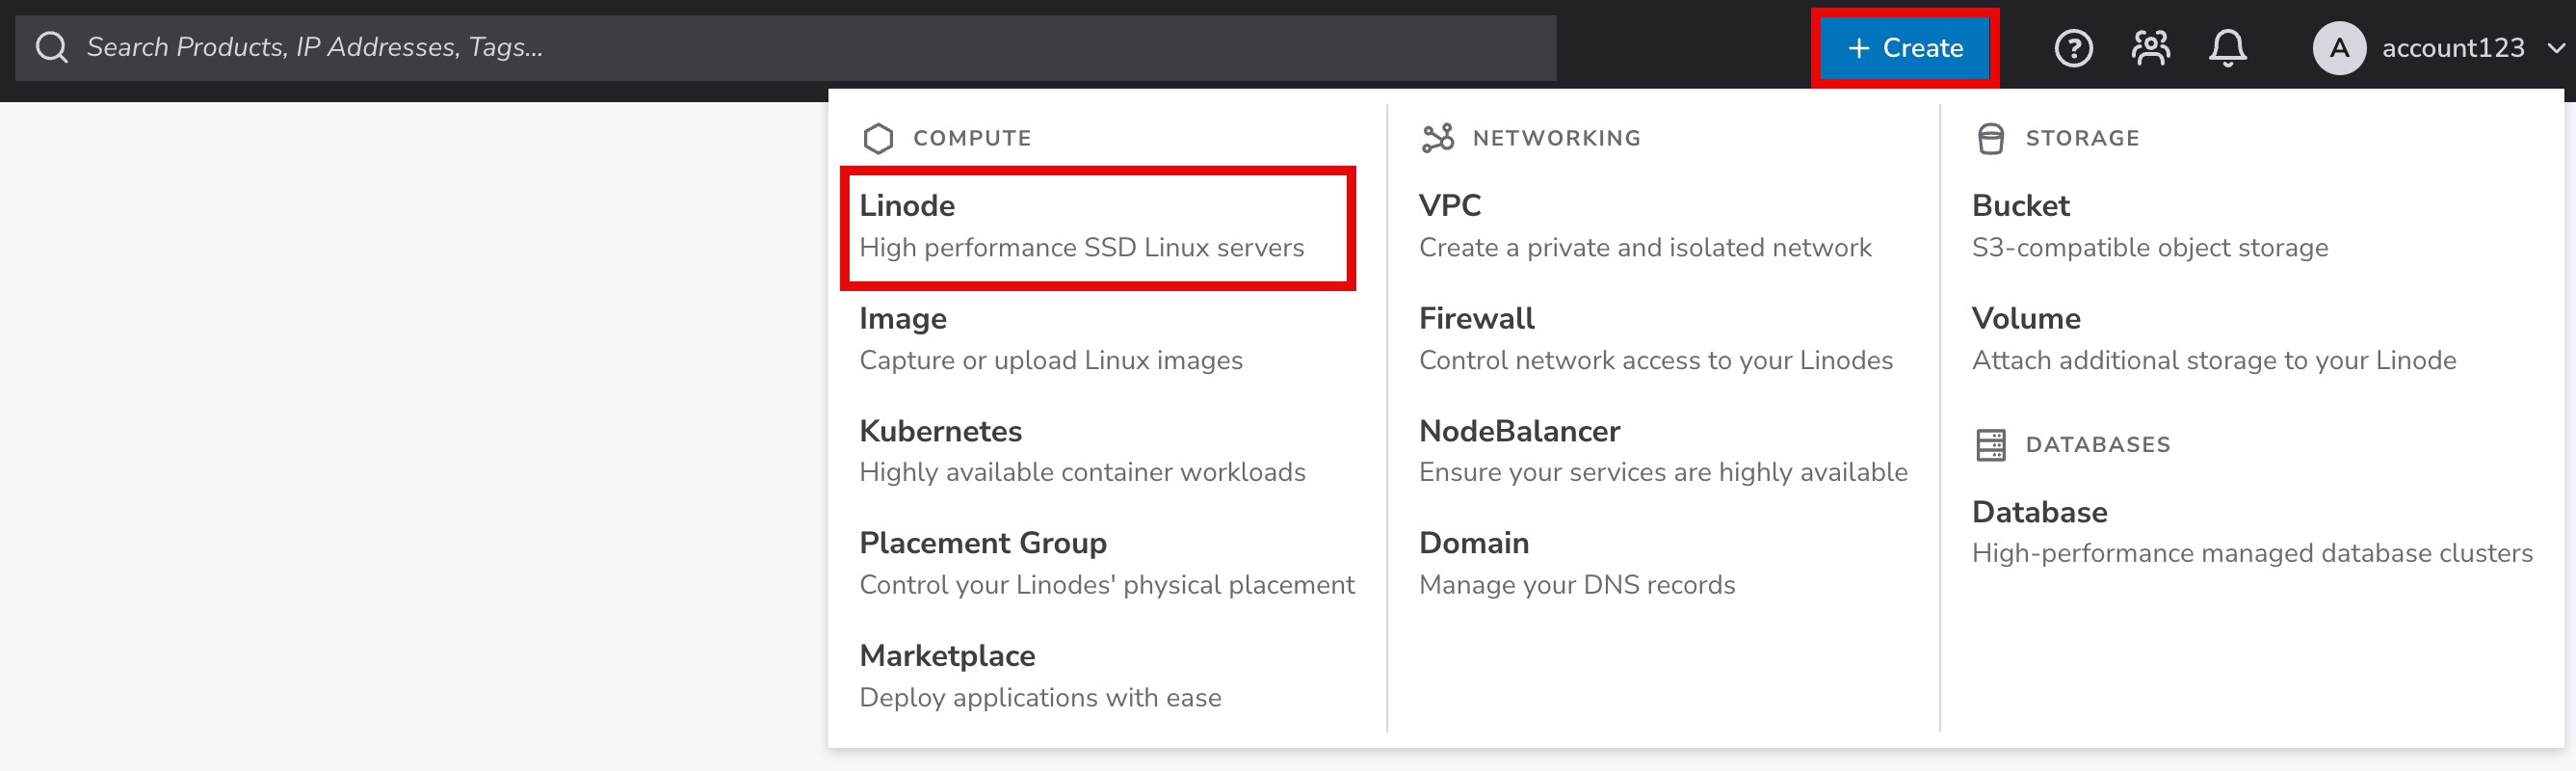
Open the Create form in Cloud Manager
Log in to Cloud Manager, click Create in the top navigation bar, and select Linode. This opens the Create form.
Select a region
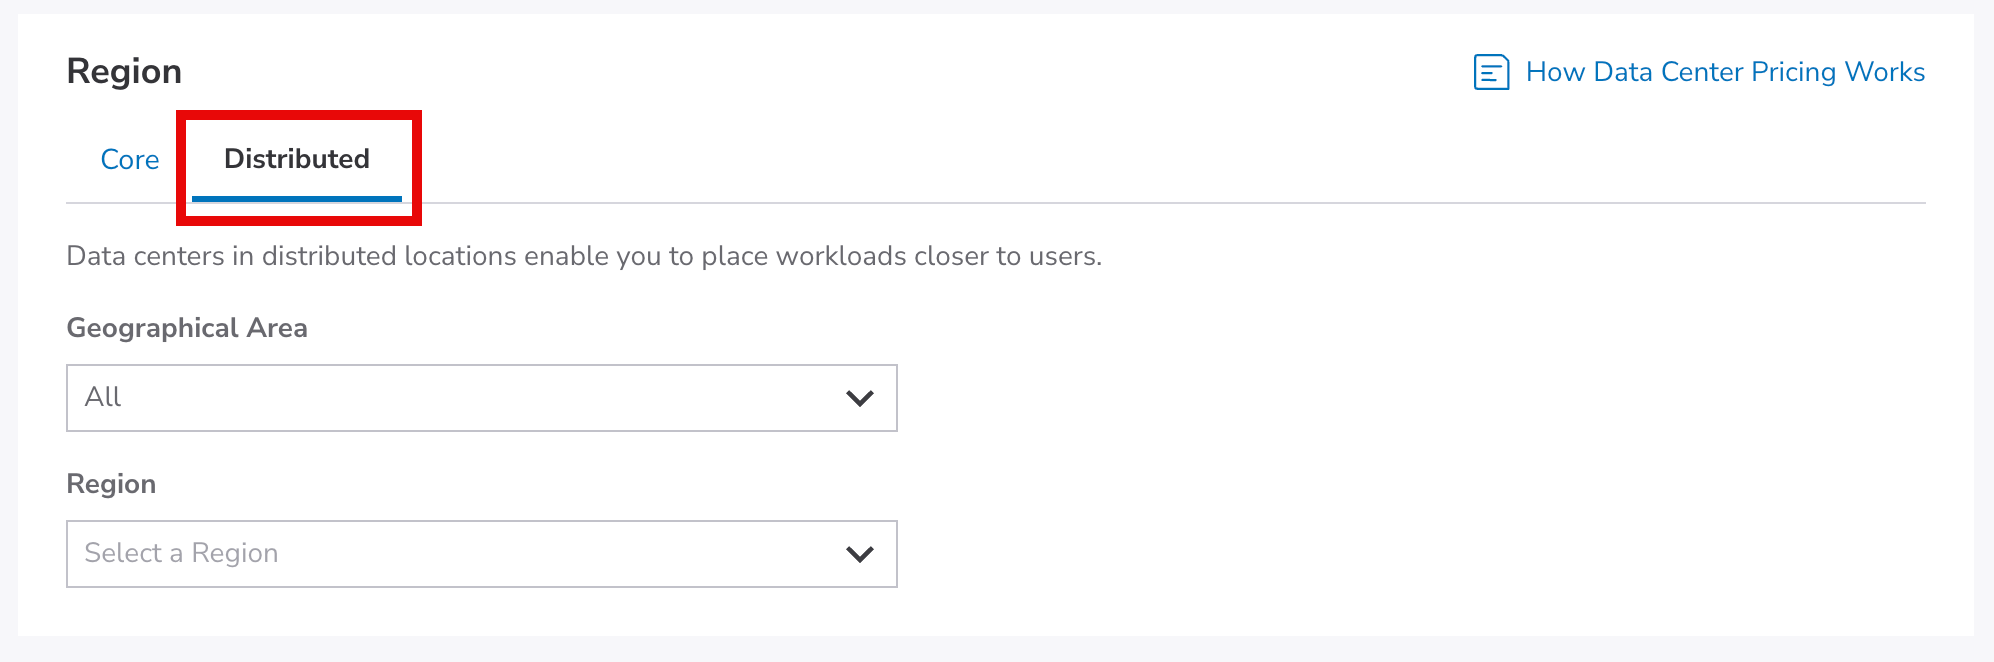
Regions correspond to individual data centers located in a different geographical areas. To minimize latency and optimize connection speed and quality, select the distributed compute region closest to your users. All distributed regions support the same features and services.
Select the Distributed tab. Select a continent from the Geographic Area dropdown list to narrow the regions available. and then select a distributed region from the Regions dropdown list.
Select a distribution
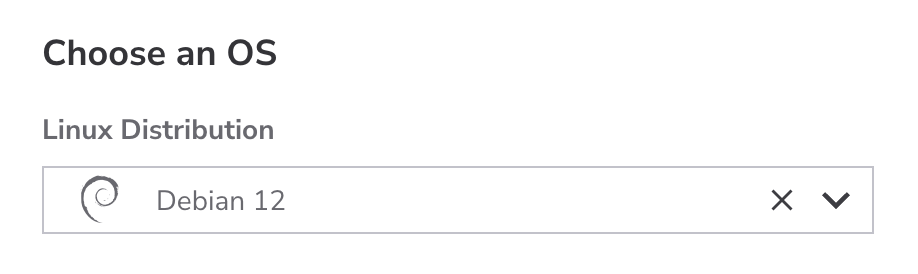
When deploying a Linode, you can either deploy a Linux distribution for a barebones install, or a custom image stored on your account.
-
Distributions: Akamai supports many Linux distributions, including the latest LTS releases of Ubuntu, Debian, CentOS Stream, and RHEL-derivatives such AlmaLinux and Rocky Linux. If you select a distribution from the list, you'll start with a stable Linux operating system and build your own software stack from scratch. Each distribution comes with a set of preinstalled software and commands. See Choose a Linux distribution for the list of distributions.
-
Images: Custom Images are created based on existing Linodes or image files. You can select any Custom Image stored in your account. Recovery Images are not supported.
This guide assumes you are creating a Linode from a Distribution. If you are creating a Linode from a custom image, see Deploy an image to a new Linode.
Select a plan
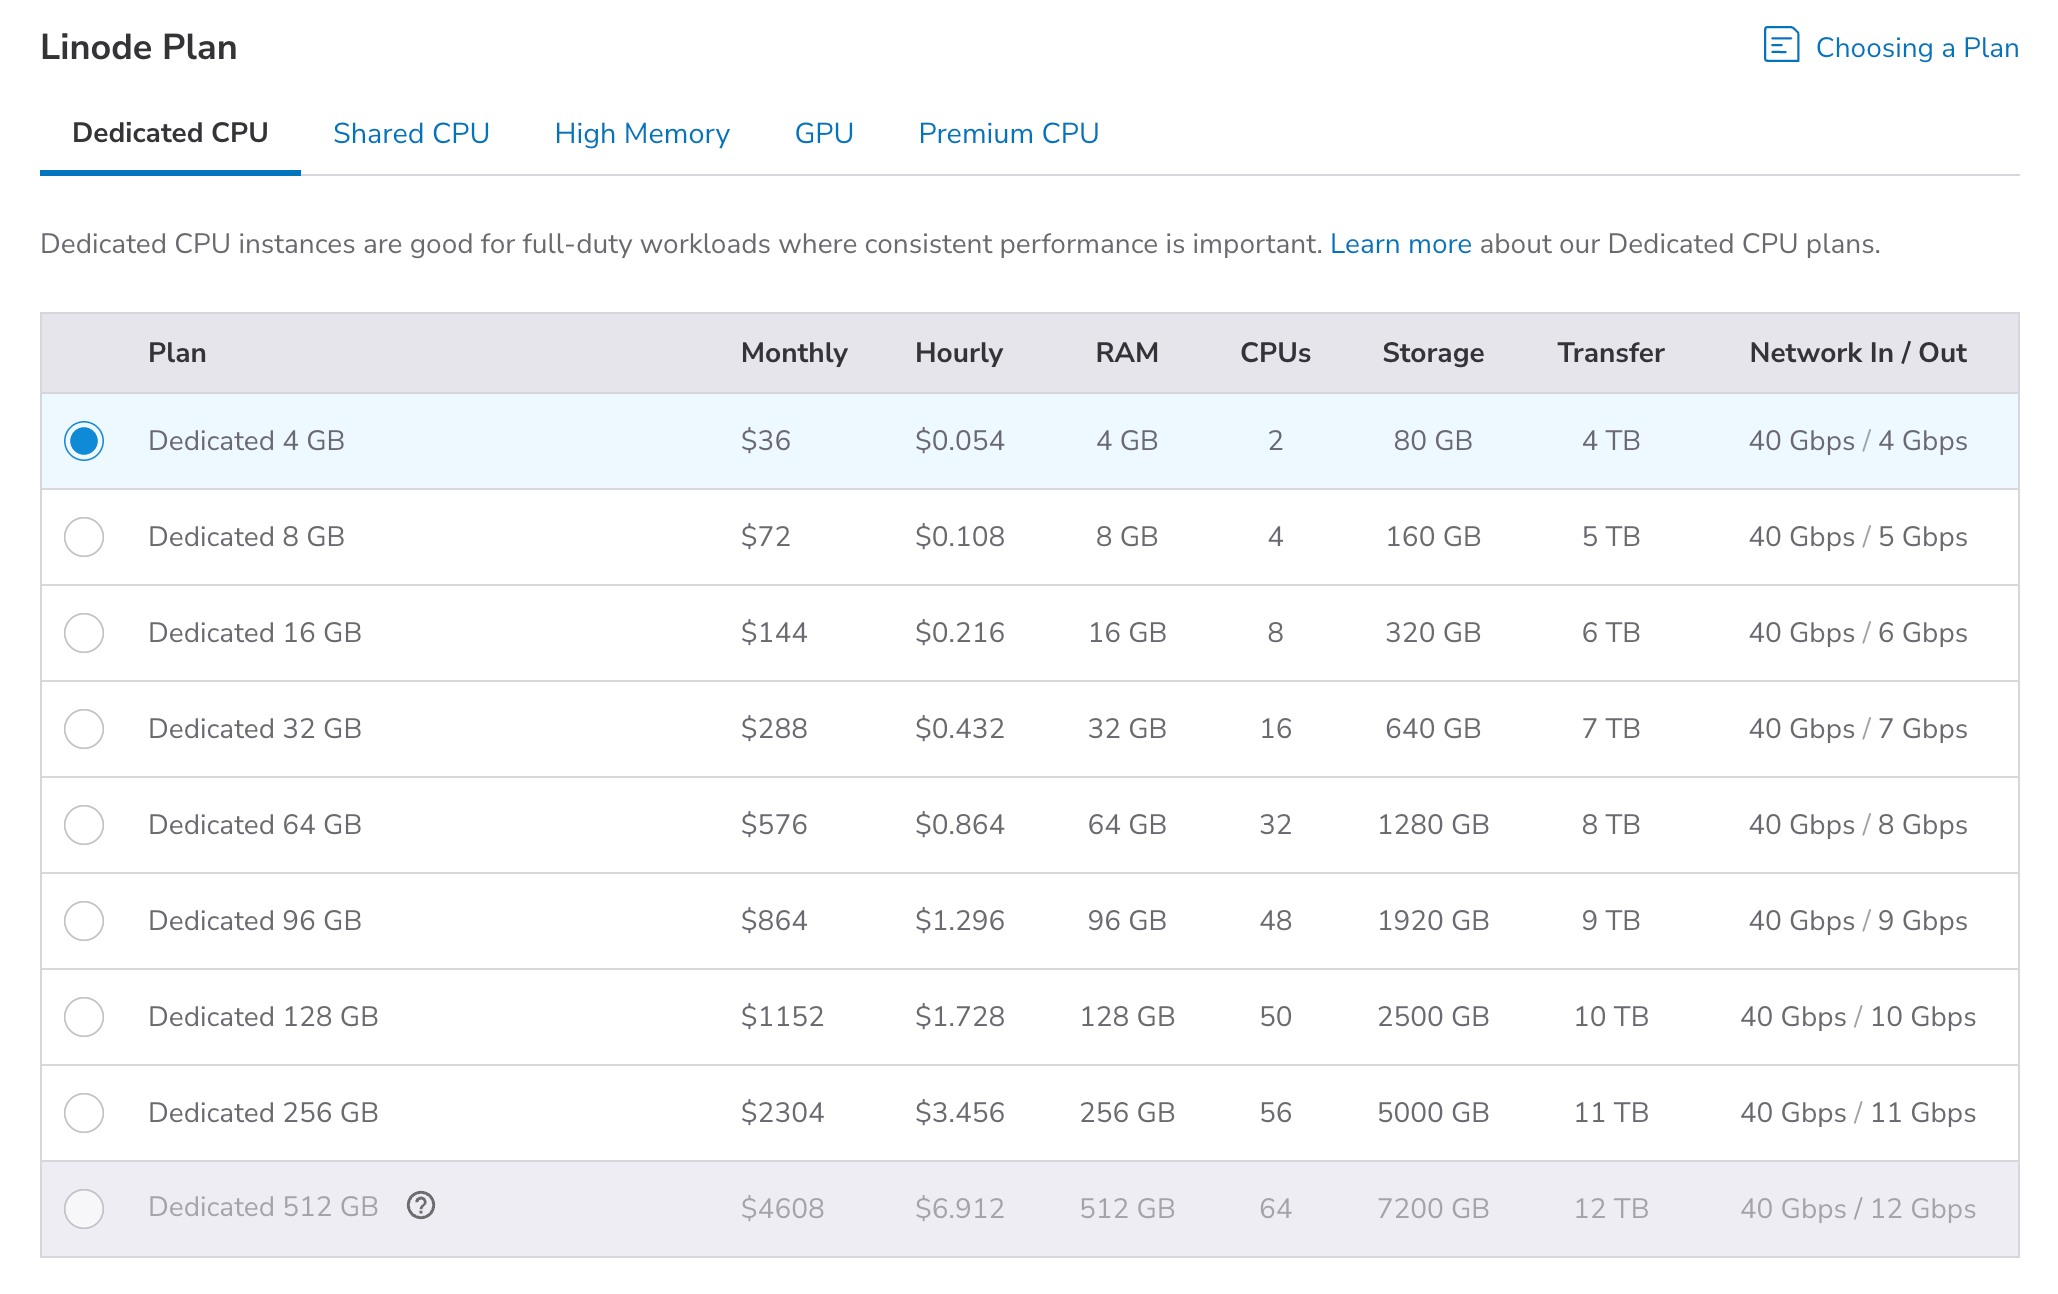
Choose the Dedicated CPU plan that meets the resource requirements of your application or workload. Dedicated CPU plans reserve physical CPU cores for your Linode, letting you use 100% of the resources continuously. For more details, see Distributed compute region plans.
You can resize your plan at any time. See Resize a Linode for instructions
Set the label and add tags
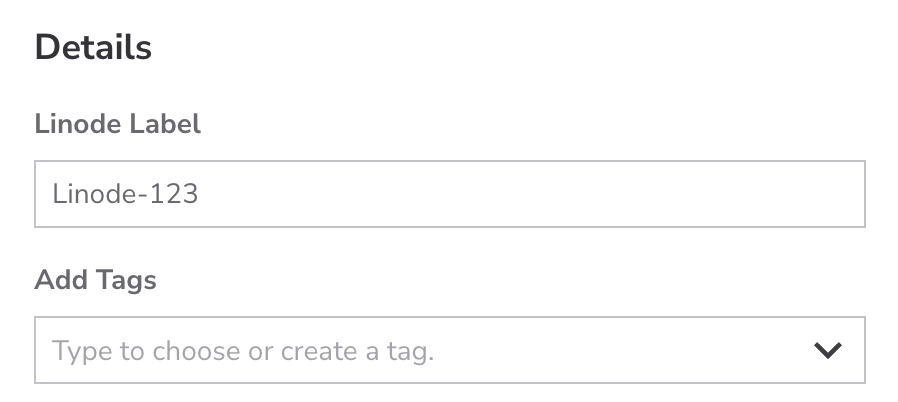
Set the label and add tags for your Linode:
-
Label: The label identifies the Linode. Use a descriptive name that indicates its purpose, for example,
acme-web-prodto ndicate that the Linode is the production website for Acme. Labels must only use letters, numbers, underscores, dashes, and periods. If you have already implemented naming conventions for your cloud infrastructure, follow those conventions. -
Tags: Tags help you to categorize your services. For example, a web development agency might add a tag for each client. You can also add tags to categorize services by environment: development, staging, or production.
Set up security
You need to set at least one form of authentication to access your Linode. This can be a root password or SSH keys.
Creating password-less Linodes with SSH keys provisioning is recommended over passwords because SSH keys provide stronger security, enable automated access without manual input, and allow easier per-user access management. Omitting the password results in a secure, password-less SSH configuration.
Add SSH keys (recommended)

Select an existing SSH key from the list or click the Add an SSH Key button to add a new key to the root user account on the server.
This enables you to log in through SSH without needing a password. SSH keys are created as a pair: a private key stored on your local computer and a public key that you can upload to remote systems and services. Since you only share your public key and your private key is kept safe and secure, this is a much more secure method for authentication than passwords.
SSH keys are stored within your account and can be easily accessed from Cloud Manager. For more information, see the Manage SSH keys guide.
Create a password

If you’re provisioning your Linode with SSH keys, creating a password is optional.
In Root Password, enter a password you will use to log in to the system as the root user.
The root user is the main account and has access to the entire system, including files and commands. This password should be extremely strong to prevent attackers from gaining access to your system. By default, the root user can log in over Lish and SSH using this password, though we recommend disabling this in the Set up and secure a Linode guide.
Assign a Cloud Firewall (recommended)
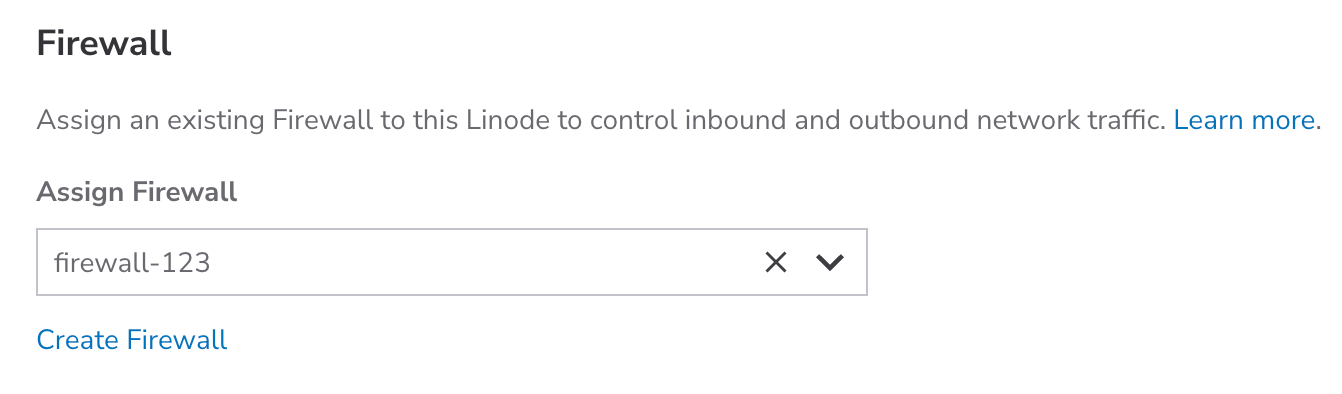
Assign a cloud firewall to protect your new Linode from unwanted traffic.
Select an existing firewall from the Assign Firewall dropdown menu. If you don't have one, click Create Firewall to create a new one. Follow the instructions in the Create a Cloud Firewall guide.
If you prefer to assign a firewall at a later time, you can do so by following the instructions in Apply firewall rules to a service.
Assign to a VLAN (optional)
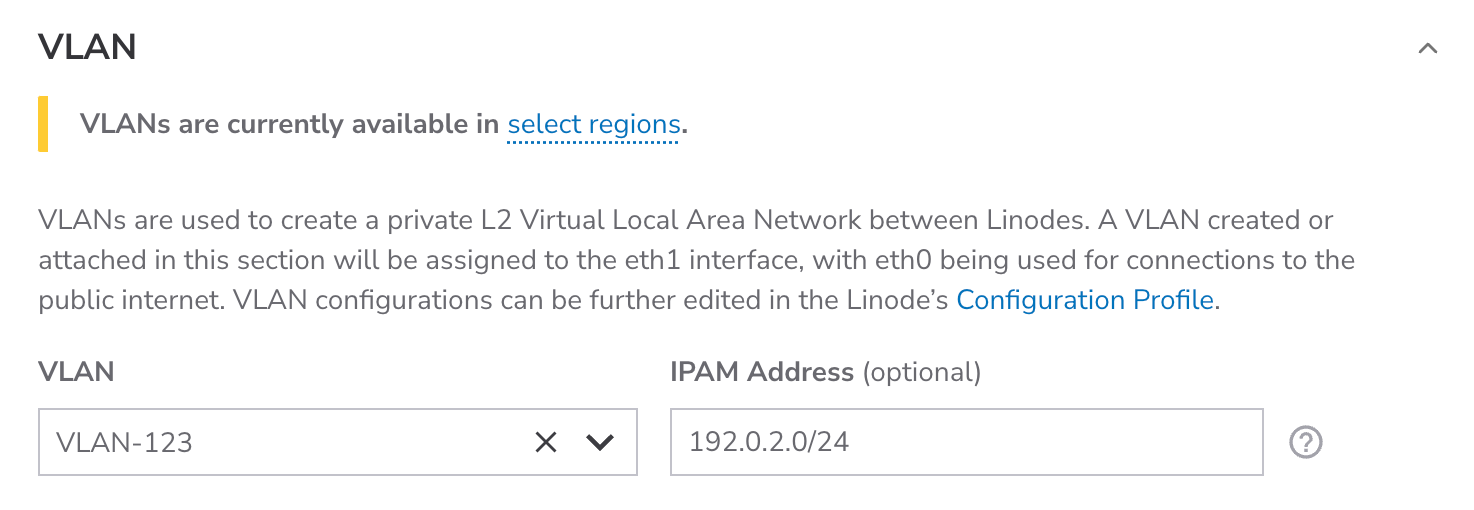
Assign yourLinode to an isolated private L2 network. VLANs are available at no extra cost. See VLANs to learn more.
Add user data
If you provide user data to the Metadata service, it will be consumed by cloud-init the first time your Linode boots. To learn more about the Metadata service, user data formats, and our cloud-init integration, see Metadata service.
Deploy your Linode

Review the details in the Linode Summary section. If you're satisfied, click Create Linode to start the deployment, which can take anywhere from 3 to 30 minutes. After deployment begins, you're redirected to the details page where you can track progress and view additional information about your new Linode, such as IP addresses.
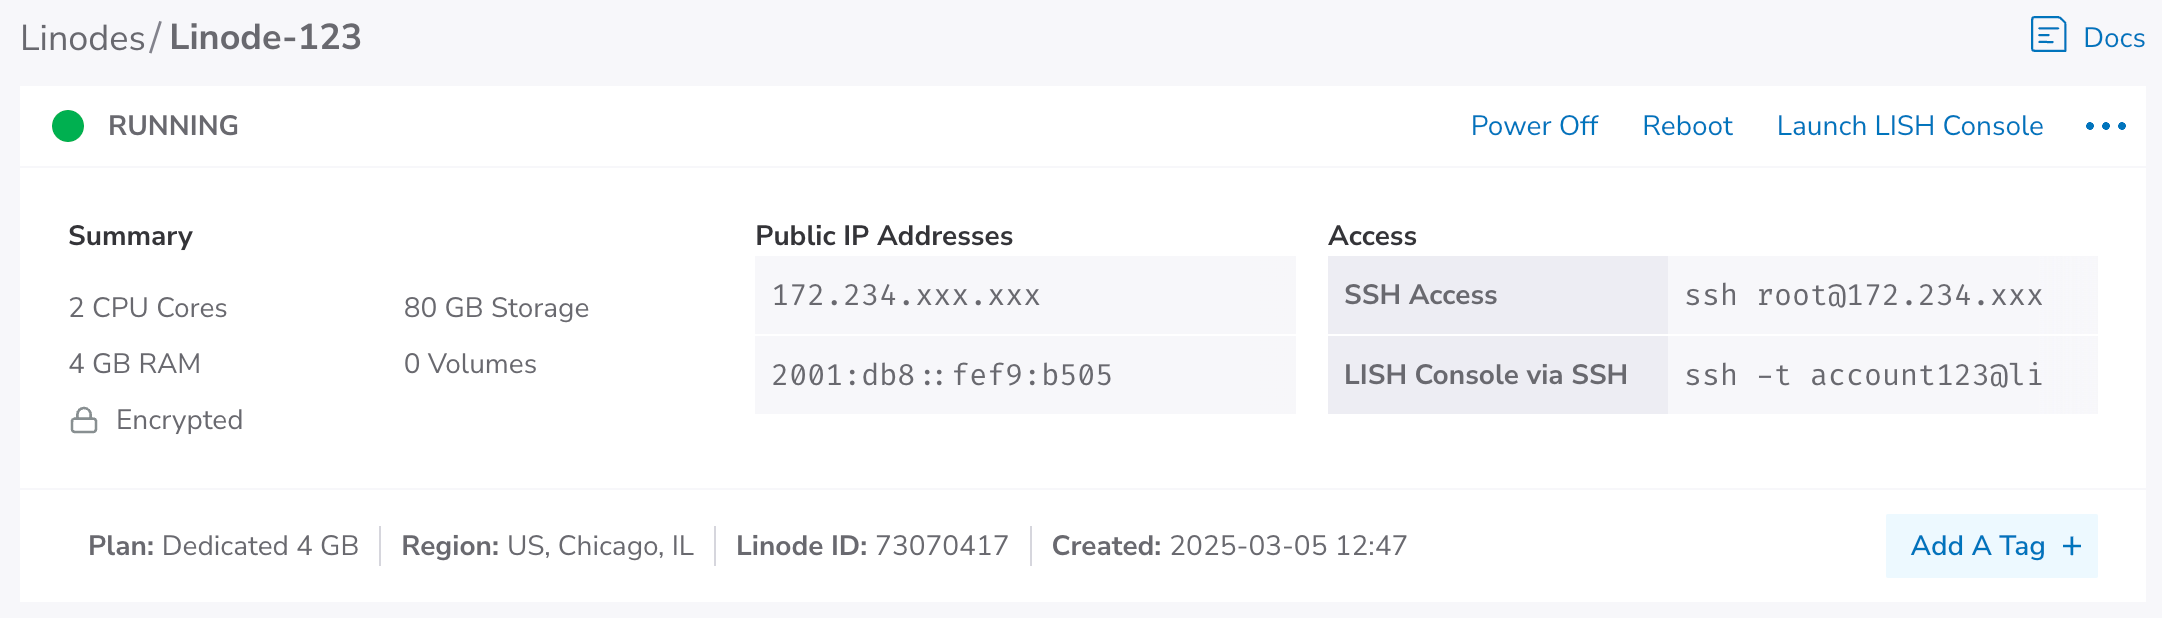
Verify your Linode
In Cloud Manager , click Linodes in the side menu and locate your newly created Linode. Check the status column to verify that your Linode is running.
Click the label for your Linode to open a details page with performance analytics and additional configuration options.
Next steps
After your Linode has been created and is initialized, configure and secure it. See Set up and secure a Linode for guidance.
Email restrictions on our PlatformIn an effort to fight spam originating from our platform, outbound connections on ports 25, 465, and 587 are blocked by default on Linodes for some new accounts. These restrictions prevent applications from sending email. If you intend to send email from a Linode, see Send email on Akamai Cloud to learn more about our email policies and to request the removal of these restrictions.
Updated about 1 month ago