Advanced settings of an IdP
TLS configuration for an IdP
Select a default or custom cipher suite to be used for TLS client-server handshake before starting a TLS secure communication. It ensures security to all types of identity providers (IdPs).
Enterprise Application Access (EAA) allows users to have a secure network connection using TLS 1.1 or higher to access their IdPs.
You can use the default strong cipher suite or select a custom cipher suite for the TLS handshake between the user's computer and the server (IdP server) before you establish a secure network connection.
After you make any changes to your existing IdP, add your default or custom TLS cipher suite before you deploy the IdP. This overrides your latest configuration changes.
-
Log in to Enterprise Center.
-
In the Enterprise Center navigation menu, select Application Access > Identity & Users > Identity Providers.
-
Click the IdP to open it.
-
Go to Settings > Configure TLS Cipher suite.
-
Select one of the following for Cipher suite configuration for the TLS handshake between the user and the application server:
-
Default. Use the default strong cipher suite as recommended by Akamai. Only TLS version 1.2 strong ciphers are supported.
-
Custom. Select a cipher suite from the list. If you select a cipher suite that has a weak cipher, you receive a warning when you deploy the IdP. A weak cipher is one that has any vulnerabilities and the security can be compromised. Custom configuration supports both TLS version 1.1 and TLS version 1.2 ciphers.
-
-
Click Save and Deploy and deploy the IdP.
Remember your login credentials after you close the IdP login page from the browser
You can make your authentication cookie persistent for multiple sessions. When you set the persistent cookie, the user does not have to enter the credentials after they close and reopen the browser. If the persistent cookie is not set or if it expires, the user is prompted to re-enter their credentials.
-
Log in to Enterprise Center.
-
In the Enterprise Center navigation menu, select Application Access > Identity & Users > Identity Providers.
-
Click the IdP to open it.
-
Go to Settings > Advanced.
-
Enable Persistent Cookie to remember your credentials over multiple sessions.
-
Click Save and Deploy and deploy the IdP.
Change the identity provider session settings for users
Change the identity provider (IdP) session settings for an existing IdP. You can revise the session settings for an IdP if you get error messages stating that an IdP object cannot be updated. For example:
'cookie expiry: Maximum session expiry timeout range (in minutes) is 15 to 43200.'

'Force login timeout: Idle timeout range (in minutes) is 60 to 525600.'
-
Log in to Enterprise Center.
-
In the Enterprise Center navigation menu, select Application Access > Identity & Users > Identity Providers.
-
Click the IdP for which you want to configure the session settings.
-
Go to Settings > Session.
-
In Session Idle Expiry enter the number of minutes after which an idle session should automatically get timed out.
The default is 120 minutes. The maximum limit is 1440 minutes. If you exceed that number to be more than 43200 minutes, you get an error message and you cannot save the configuration changes. -
Select Limit Session Life to specify the maximum lifetime for an active session.
-
In Max Session Duration enter the number of days after which all authenticated users are forced to authenticate again.
The default is 7200 minutes (5 days). The recommended limit is 60 minutes and the maximum limit is 525600 minutes (365 days). If your duration is not within that limit you get an error message and you cannot save the configuration changes. -
Click Save and Deploy.
Change the expiry timeout for user sessions
Change the number of minutes in an expiry timeout for user sessions. The default is 120 minutes.
-
Log in to Enterprise Center.
-
In the Enterprise Center navigation menu, select Application Access > Identity & Users > Identity Providers.
-
Select your IdP to open it.
-
Go to Settings > Session.
-
In Session idle expiry select the timeout value.
-
Click Save and Deploy.
Set temporary lockout for multiple failed login attempts
Refer to Temporary Lockout on IdP and unlock a user in Cloud Directory.
Set authorization failure redirect options
When an authenticated end-user logs in to the login portal, and tries to access an application he is not authorized to access, the admin can configure redirect options for the On Authorization failure.
-
Log in to Enterprise Center.
-
In the Enterprise Center navigation menu, select Application Access > Identity & Users > Identity Providers.
-
Select your IdP to open it.
-
Go to Settings > Advanced.
-
Set On Authorization Failure to any of these redirect options:
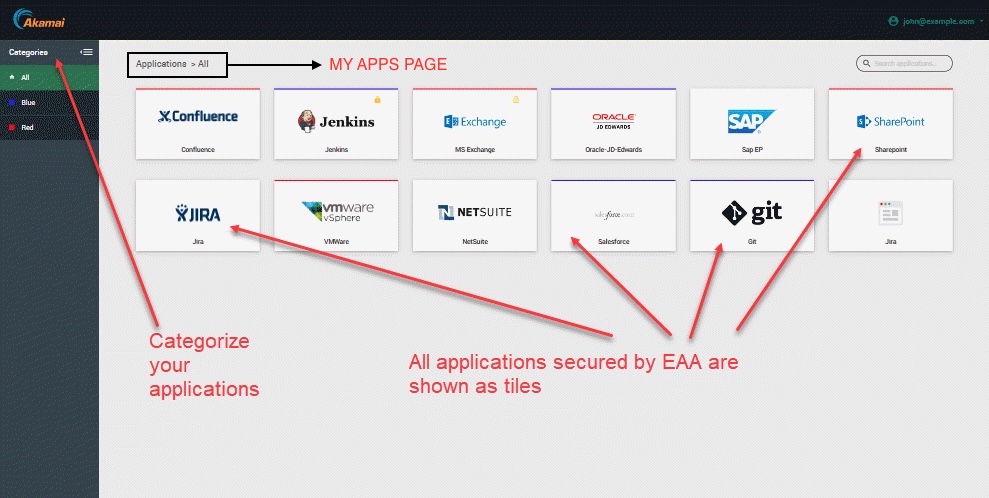
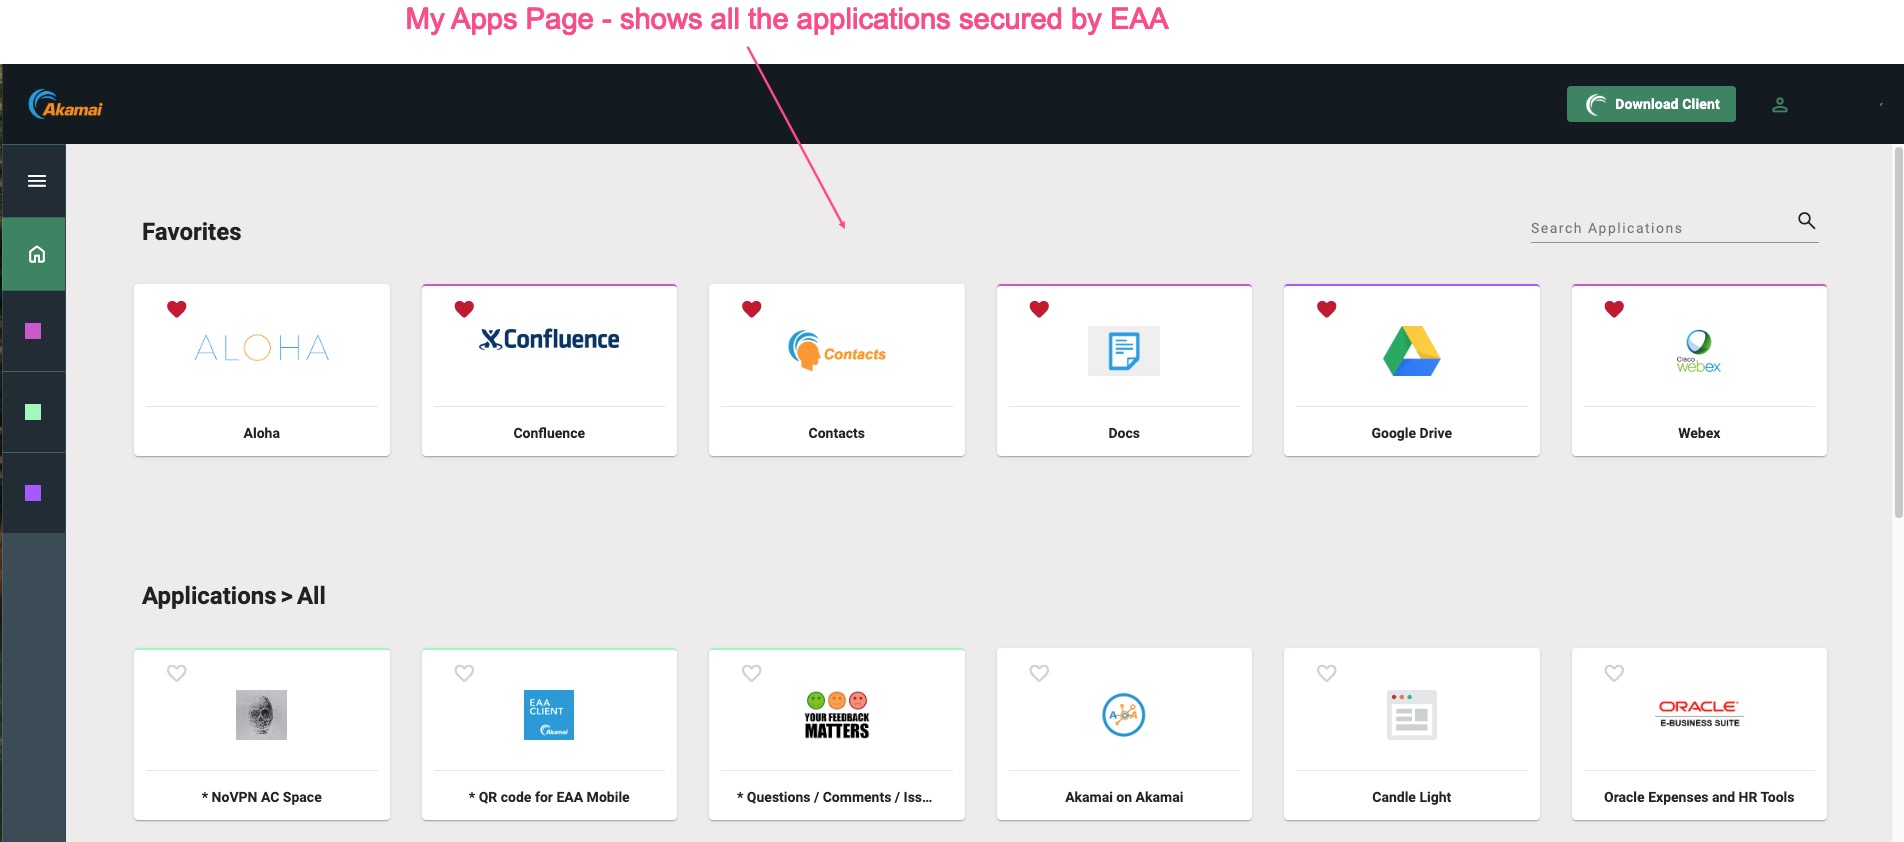
a. My Apps Portal. (default) End-user is taken to the My Apps Portal page:

b. Access Denied Page. End-user is taken to the default EAA Access Denied page.
c. Custom URL. Add a custom URL for Authorization Failure Redirect URL, if you have your own authorization failure page.
- Click Save and Deploy to deploy the identity provider.
Set logout redirect options
When an end-user logs out of an application secured by EAA, by default, he is taken to the IdP login page to enter the credentials. You can override by setting redirect options for On Logout.
-
Log in to Enterprise Center.
-
In the Enterprise Center navigation menu, select Application Access > Identity & Users > Identity Providers.
-
Select your IdP to open it.
-
Go to Settings > Advanced.
-
Set On Logout to any of these redirect options:
a. Login Page. (default) End-user is taken to the username/password page of the IdP login portal:

b. Logout Page. End-user is taken to the default EAA Logout page.
c. Custom URL. Add a custom URL for Logout Redirect URL, if you have your own logout page.
- Click Save and Deploy to deploy the identity provider.
Configure Post login redirect URL
By default, when end-users log into the IdP login portal, they are directed to the My Apps page. This page shows all of the applications they can access which are secured by EAA:

However, some customers might want to redirect to their own custom URL. You can configure this in EAA using the Post login redirect setting.
-
Log in to Enterprise Center.
-
In the Enterprise Center navigation menu, select Application Access > Identity & Users > Identity Providers.
-
Select the IdP for which you wish to add the Post login redirect URL.
-
In the Settings tab, go to Advanced section.
-
For Post login redirect, provide the URL where you want your authenticated end-users to be redirected to, to access your applications.
-
Click, Save and Deploy to deploy the IdP.
Updated 8 months ago
