Enable or disable query and response logging
Enable query and response logging
You can temporarily enable query and response logging to help Akamai troubleshoot an issue. These logs are sent and available to Akamai. By default, this setting is disabled. When you enable this setting, you can choose to include or not include the client IP address. You also define how long you want Security Connector to log queries and responses. You can enter any time in minutes that's up to 480 minutes (8 hours).
After you set a time limit, the remaining time is shown in the Security Connector console.
To enable query and response logging:
-
In the Security Connector main menu, press 6 or use the arrow keys to select Manage DNS Forwarder and press Enter.
-
In the menu that appears, press 3 or if necessary, use the arrow keys to select Query & Response Logging On/Off and press Enter.
-
Press C to continue and edit the query and response setting.
-
To enable query and response logging, do one of these steps:
-
To enable query and response logging without logging the user's client IP address, press 2 to select Enable without Client IP and press Enter.
-
To enable query and response logging with a user's client IP address, press 3 to select Enable with Client IP Details and press Enter.
-
-
In the validity period prompt, enter how long in minutes you want queries and responses to be logged. You can enter a value that's up to 480.

For example, in this graphic, DNS Forwarder will log queries and responses for five minutes.
-
Press Enter.
-
In the confirmation window that appears, enter y to confirm this change and press Enter. The remaining time where query and response logging is enabled is shown.

-
Press Enter to return to the DNS forwarder menu.
Next steps
If you want to disable query and response logging before the validity period or the time expires, see the next procedure, Disable query and response logging.
Disable query and response logging
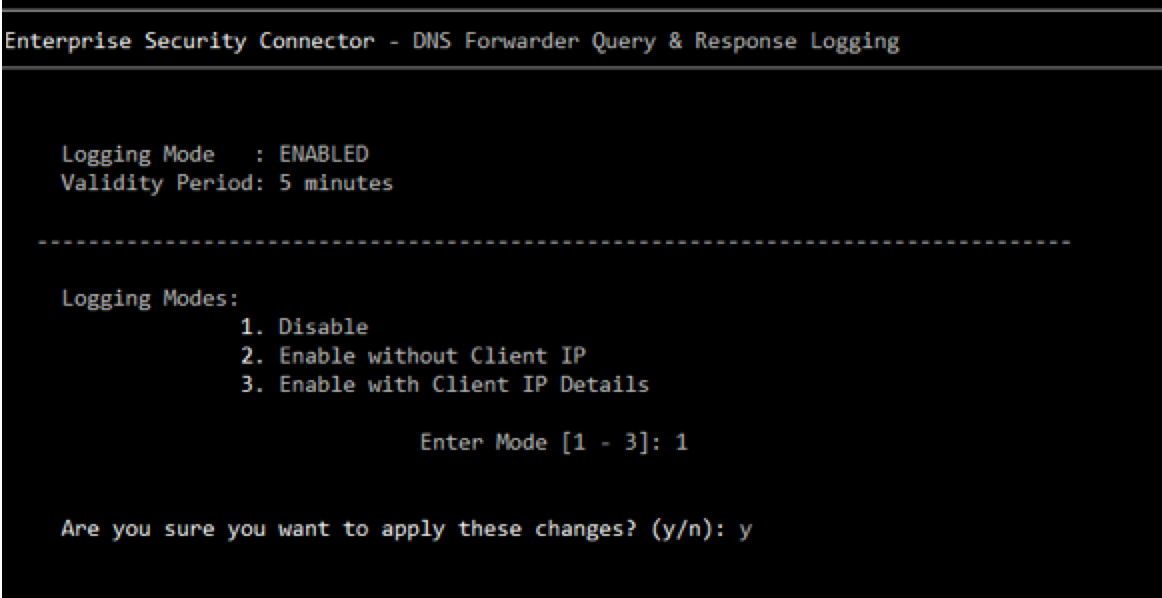
If you need to disable query and response logging before the logging time (validity period) expires, you can manually disable it. By default, query and response logging is disabled unless an administrator chooses to enable it. For more information, see Enable query and response logging.
To disable query and response logging:
-
In the Security Connector main menu, press 7 or use the arrow keys to select Manage DNS Forwarder and press Enter.
-
In the menu that appears, press 3 or if necessary, use the arrow keys to select Query & Response Logging On/Off and press Enter.
-
Press C to continue and edit the query and response setting.
-
Press 1 to select the disable option and press Enter.

-
Enter y to confirm your change and press Enter.
-
Press Enter to return to the DNS forwarder menu.
Updated over 3 years ago
