Configure secure SSH access methods
Enable the use of SSH authentication methods ("Secure Access"), by applying an SSH key to the account for use.
All SSH (Secure) access methods use the sshacs username, not the name of your upload account. Once properly set up, all access methods that use secure connections are accessible.
Before you begin
- An SSH key is required. Ensure your keys are in the OpenSSH format with these parameters:
- Key type. RSA
- Bits. 2048
- Secure Rsync. If you want to use Secure Rsync, follow these instructions to apply an SSH key to your upload account. Don't use the Rsync tab as it's for non-secure password authentication.
- Aspera Upload Acceleration has additional software and configuration requirements.
You must generate and apply an SSH key
This involves generating a “Private" and applying the “Public" instance of the key to an upload account. You save the “Private” instance of the key on your local system for use when using your access method.
Procedure to add an SSH key
Open the application. Go to ☰ ⇒ ORIGIN SERVICES ⇒ NetStorage.
- Access the Upload Accounts entity.
- Click the + to add or edit an upload account.
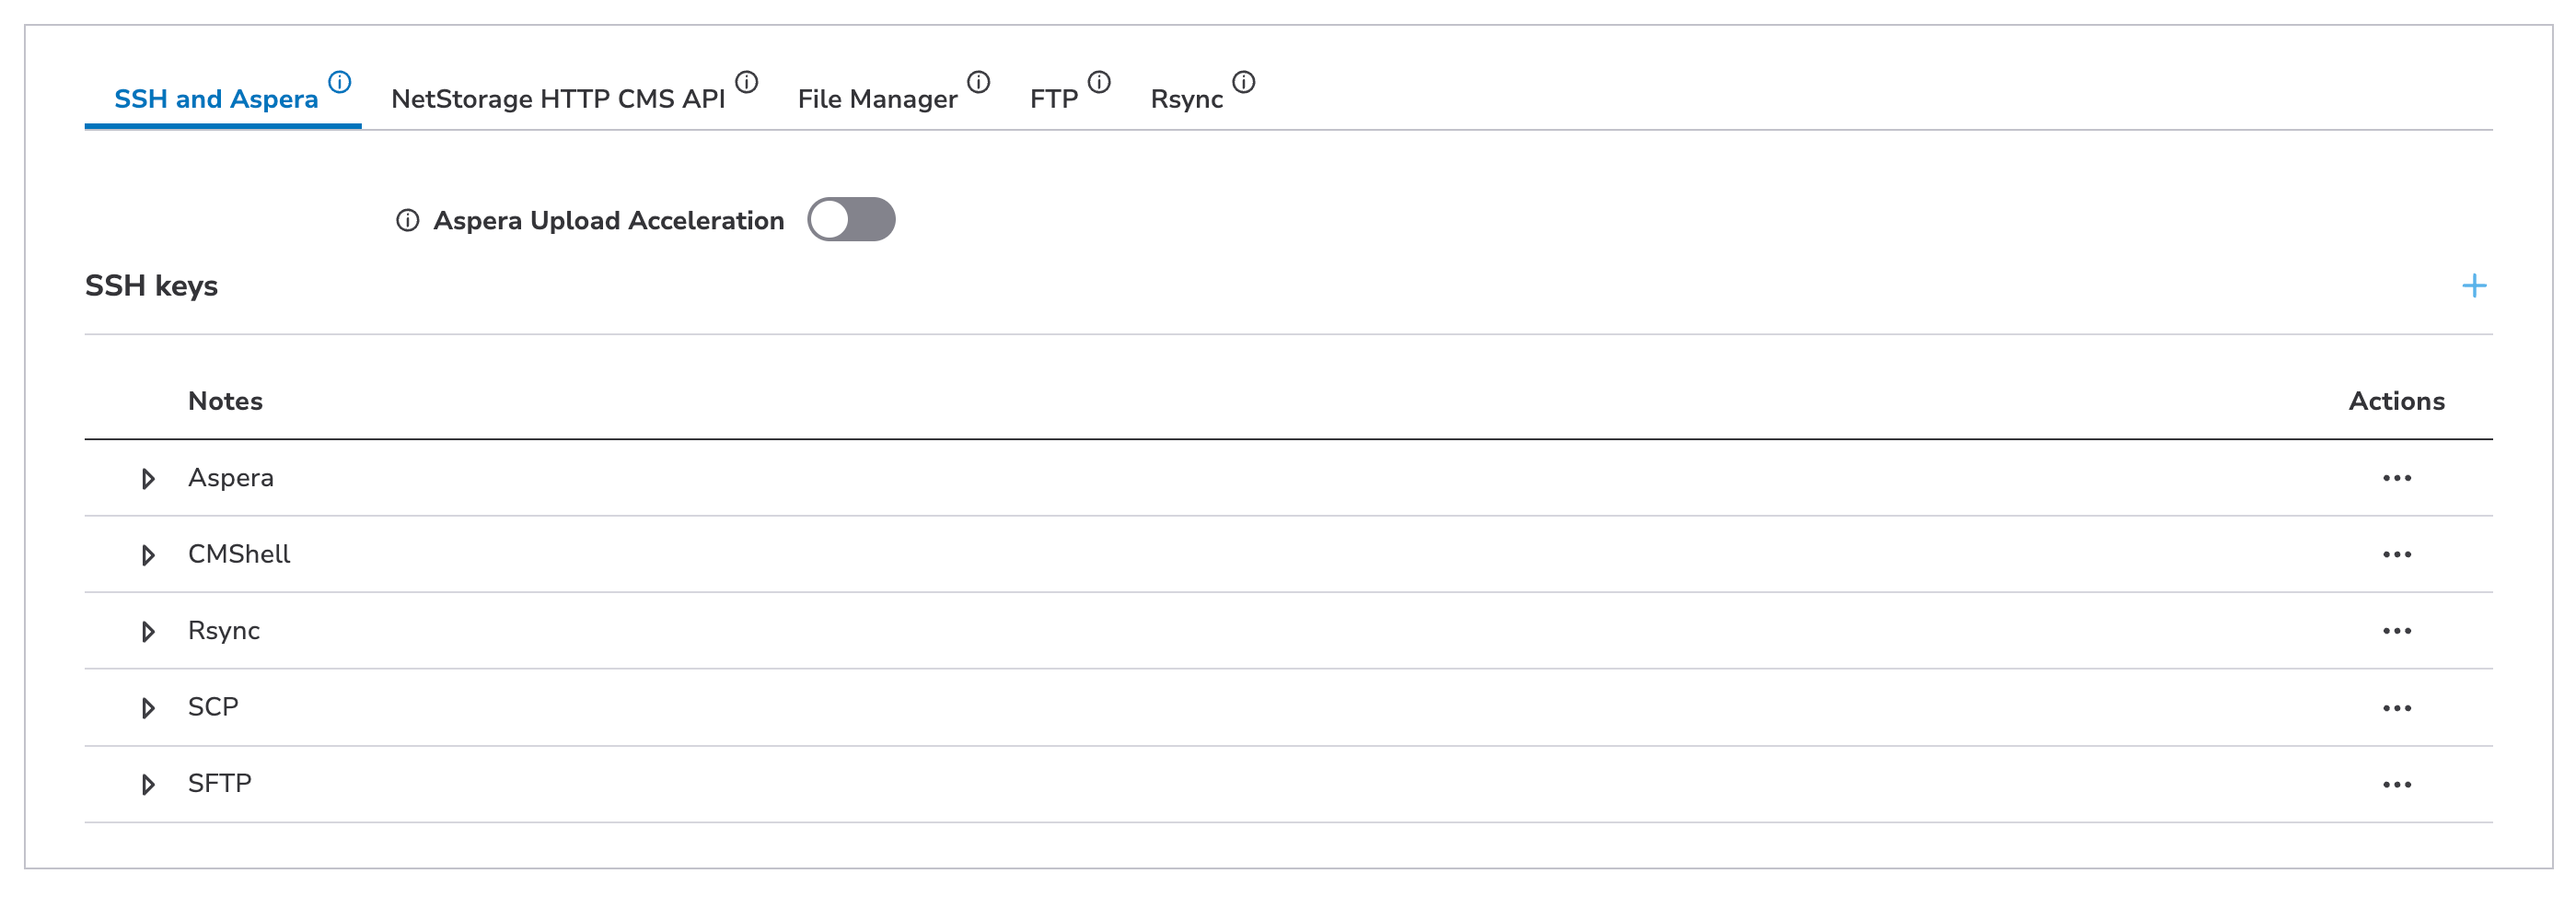
- In the Access Methods content panel for an upload account, access the SSH and Aspera tab.
- Click SSH and Aspera.
- Click the + icon to add an SSH key.
- Populate these fields:
- SSH Key. Input a valid OpenSSH-compatible “public” key here. You must have the “public” instance of the key file open to access its content to copy and paste its entire contents into this field.
- Notes (Optional). Input any key-related information you feel is relevant in this field.
- Click Add to complete the process.
- Enable Aspera Upload Acceleration for the account by selecting the slider switch. It will remain grayed-out until an SSH key is applied.
While you can share an SSH key that you apply here with Aspera Upload Acceleration, you should use a unique key that you configure in the Aspera Client application. Use of Aspera Upload Acceleration also has configuration and setup requirements.
You should use multiple SSH keys
All secure session-based protocols--Aspera Upload Acceleration, SFTP, SCP, Secure Rsync and CMShell--are available if you generate and apply a single SSH key. You don't need to configure an individual SSH key for each. However, this is supported, and we highly recommend this practice for additional security.

If you use multiple keys, you should use the Notes field in the NetStorage Groups UI to include the specific session-based protocol name for that key.
Configure your OpenSSH client
Secure access methods (SFTP, SecureCopy, CMShell, and Secure-Rsync) require a compatible OpenSSH client configuration. Use these steps to configure your OpenSSH client:
Edit your SSH client config
-
Locate your SSH client config.
-
Common Unix SSH config locations
- Current user.
~/.ssh/config - System wide.
/etc/ssh/ssh_config
- Current user.
-
Common Windows SSH config locations
- Current user.
C:\users\%username%\.ssh\config - System wide.
C:\ProgramData\ssh\ssh_config
- Current user.
-
-
Add these entries to your SSH client config:
Host *.upload.akamai.com
  HostKeyAlgorithms +ssh-dss
When you connect to NetStorage
-
Use your SSH client to connect to NetStorage using the
sshacsusername. This example shows an SFTP connection:
SFTP example:sftp -i <private key> sshacs@[domain-prefix].sftp.upload.akamai.com -
NetStorage responds with its public DSA key.
Contrary to the RSA-format secure connection from your client to NetStorage, the secure connection back to your client uses a DSA-format SSH key. Along with an authenticity message, you'll receive a DSA public key fingerprint and be prompted to accept it. Enter "y" or "yes" to accept and add it as a known system on your client.
The authenticity of host '[domain-prefix].sftp.upload.akamai.com (IP-Address)' can't be established.
DSA key fingerprint is SHA256:[HASH].

Are you sure you want to continue connecting (yes/no)? yes
SSH keys and Aspera Upload Acceleration
While you can manually generate an SSH key and apply it for use with Aspera, we recommend that you use the utility offered in the Aspera Client application to generate the key. Other operations must be performed in the Aspera Client to configure it, and using it to generate the SSH key greatly simplifies the entire process. If you choose the manual method, you must have access to the public key and be able to copy and paste its contents into the Aspera Client.
It is, however, limited to file transfers and cannot be used for other management tasks. Because of this limitation, you may wish to use SFTP (SSH File Transfer Protocol), which has largely superseded SCP and is a more capable SSH-based tool.
Updated 11 months ago
