Generate test traffic on the Cloud
Test traffic is the core of any performance testing. It represents the requests that are sent to the system being tested. In order to generate test traffic, you need to launch a grid. A grid is a set of load generating cloud servers, which can contain cloud servers from multiple providers and locations. Launching a grid is sometimes referred to in the UI as "deploying instances."
Before you begin
You need the following:
- A Linode API token with read/write permissions for: images, Linodes, and stackscript.
- To contact Akamai so they can upload the appropriate CloudTest images and grant the appropriate compute thresholds to your account.
1. Create your cloud provider account and sync it with your Linode API token
- Log into CloudTest and access the Central tab.
- In the left-side menu select Cloud > Cloud Provider Accounts .
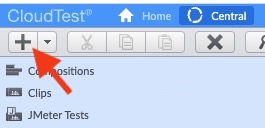
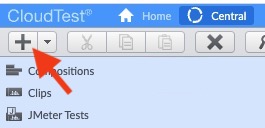
- Click the New button in the top left.

- Enter a name for your Cloud Provider Account.
- Check the following boxes:
- Launch grids
- Launch RSDBs
- For Type, select Linode.
- Enter your Linode Personal Token.
To find this go to your account profile in the Linode console, click the "Create a personal access token" button, then see the "API tokens" section. - Click OK.
You have now created a Cloud Provider Account and synced it with your Linode token.
2. Launch a new grid
-
On the Central tab, select Cloud > Grids.
-
Click the New button in the top left.

The grid manager opens. -
Enter general info:
- A grid name
- Optionally, add a description and specify a save location.
-
Click Next.
-
Enter number of test server instances servers.
-
You can also adjust settings such as Location and Reserve Test Server Instances, or click the checkbox to Show advanced settings which you can also edit.
-
Click Next.
The Summary and Deploy / Tear Down page opens. -
Review the summary of your grid then click the Deploy Instances button to launch or "deploy" your grid.
Deployment confirmation
The journal tab within the Summary and Deploy / Tear Down page provides messages related to the deployment of your grid. The progress bars at the bottom of that page fill blue to indicate that instances are provisioned, and fill green when those instances have been checked and are ready to be used. When your grid is ready, a "Grid ready" icon is displayed.
3. Tear down your grid when you are done testing
It is important to tear down your grid when you are done testing. Failing to tear down a grid leaves instances running which is costly to both the system on which it runs, and you financially.
- To tear down your grid click the Tear down instances button on the Summary and Deploy / Tear Down tab. It is located in the same place as the Deploy Instances button you used to launch your grid.
- The journal tab within the Summary and Deploy / Tear Down tab provides messages related to the tearing down of your instances and will indicate when your grid has been successfully terminated. Likewise the Test Server Instances and Results Service Instances progress bars will update and show no color to indicate there are no longer any instances allocated or checked.
Reusing grids
Once you have created a grid it is available for future use, even after it has been deployed and torn down, in the left-side menu under Cloud > Grids.
Updated over 2 years ago
