Create a RabbitMQ cluster
In this lab we will create a RabbitMQ cluster using the rabbitmq-cluster Helm chart from the catalog.
For this lab, RabbitMQ Operator needs to be activated.
Creating the RabbitMQ Cluster
-
In the left sidebar click on Catalog.
-
Click on the
rabbitmq-clusteritem in the catalog. This will take you to the page with the readme where you can see all specifications and definitions that you can use to create your RabbitMQ cluster with queues and policies. -
Click on the Values tab and fill in a name for the RabbitMQ cluster. In this lab we will create a rabbitMQ Cluster with the name
rabbit1. -
Scroll down and optionally edit the cluster parameters.
-
Configure queues and policies for the RabbitMQ cluster with 2
queuesand 2policies:queues: - name: my-quorum-queue1 spec: durable: true arguments: x-queue-type: quorum - name: my-quorum-queue2 spec: arguments: autoDelete: true policies: - name: my-policy1 pattern: ".*" definition: dead-letter-exchange: cc max-age: 1h spec: applyTo: quorum_queuesRemember that even though these values can be edited afterwards, not all specifications or definitions can be updated after a
queueorpolicyhas been created. Please make sure everything is filled in correctly. -
Click Submit.
Accessing the RabbitMQ Management UI
To access the RabbitMQ Management UI you have two options:
-
Retrieve the default user credentials and configure port forwarding on the RabbitMQ server.
-
Create a service to expose the RabbitMQ server and access the management UI publicly. This is not recommended for production services.
In this lab we are going to use port forwarding.
In this example the RabbitMQ cluster was created in the team labs, so we have to get the
secretfrom theteam-labsnamespace. Please retrieve thesecretfrom the namespace where the RabbitMQ cluster was created.
-
Use the following command to retrieve the username:
kubectl get secret rabbit1-quickstart-rabbitmq-default-user -n team-labs -o jsonpath="{.data.username}" | base64 --decode -
Use the following command to retrieve the password:
kubectl get secret rabbit1-quickstart-rabbitmq-default-user -n team-labs -o jsonpath="{.data.password}" | base64 --decodeMake sure you don't copy the
%symbol at the end.Now you have to
port-forwardthe rabbitmqcontainerwith port number15672that is inside the rabbitmqpodcalledrabbit1-rabbitmq-server-0to a port of your choice that is not used. In this lab we use port56027.rabbit1-rabbitmq-server-0has the prefixrabbit1because this is the name that we gave the cluster. -
Use the following command to enable the port forwarding:
kubectl port-forward -n team-labs rabbit1-rabbitmq-server-0 56027:15672 -
Open a browser and go to
http://localhost:56027 -
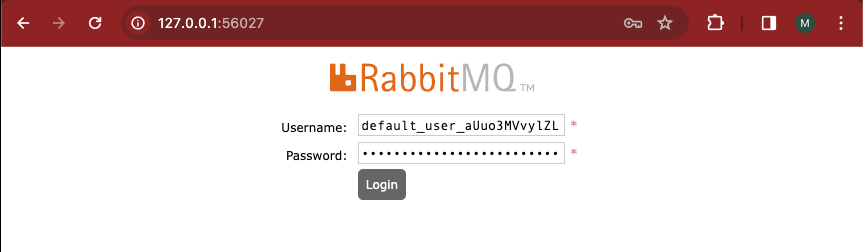
Use the previously acquired user credentials to log in. If you cannot log in, please check if the credentials are for the correct RabbitMQ cluster.
Checking the RabbitMQ Management UI
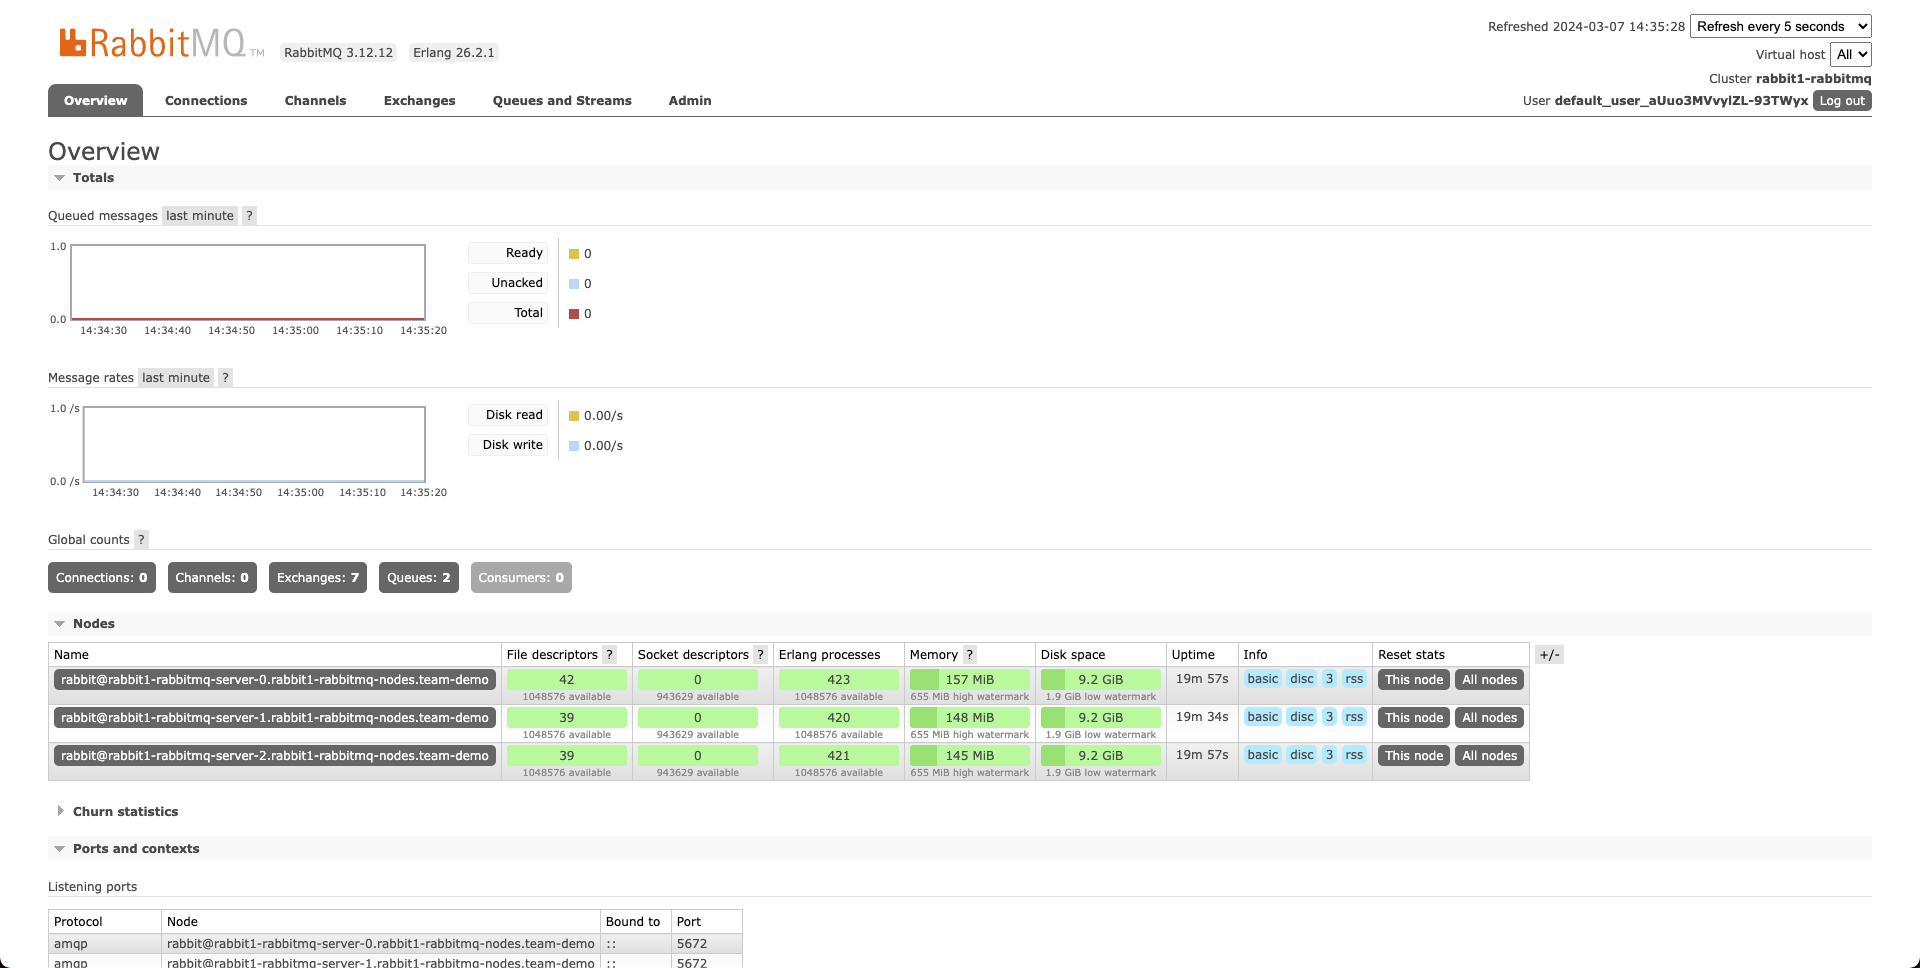
Now that we are logged in you should see the following:
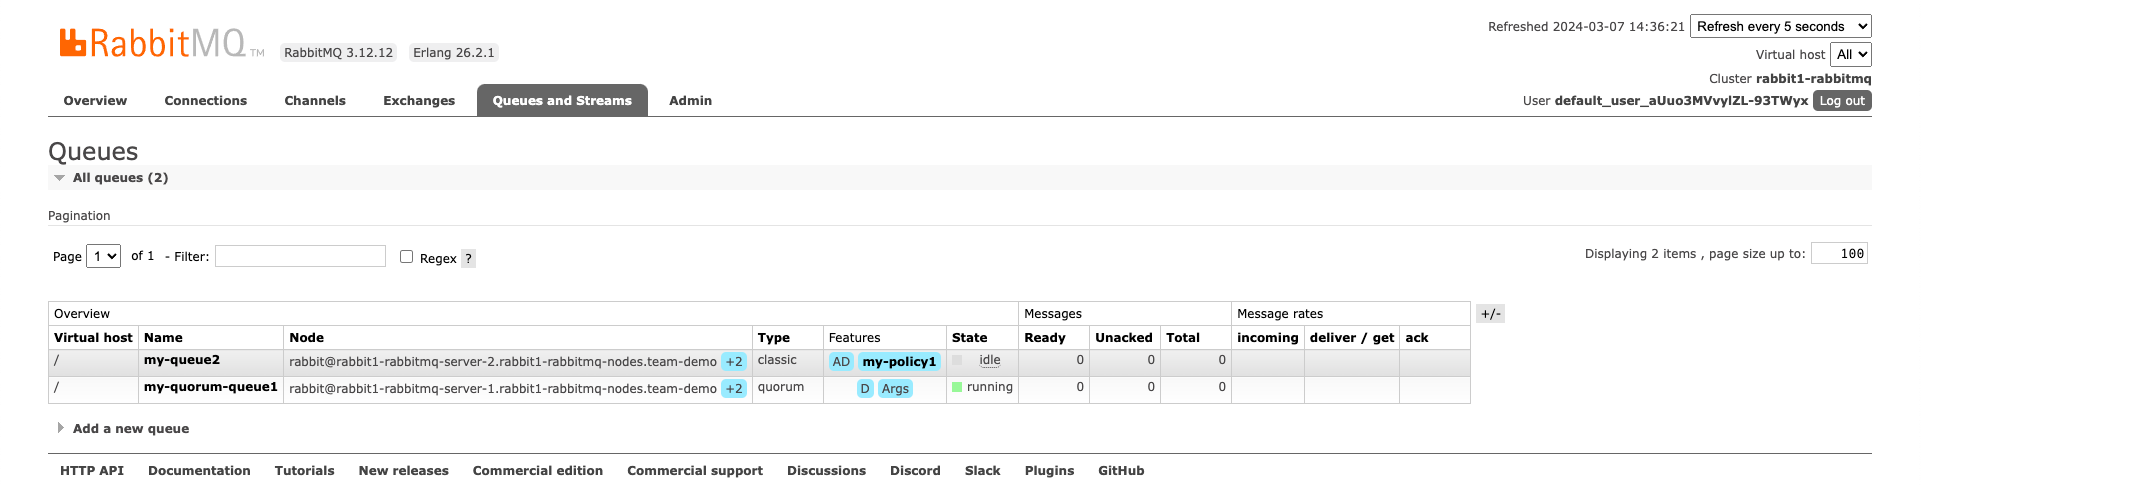
We can also check the queues that we specified when creating the rabbitmq cluster in the Queues and Streams tab.
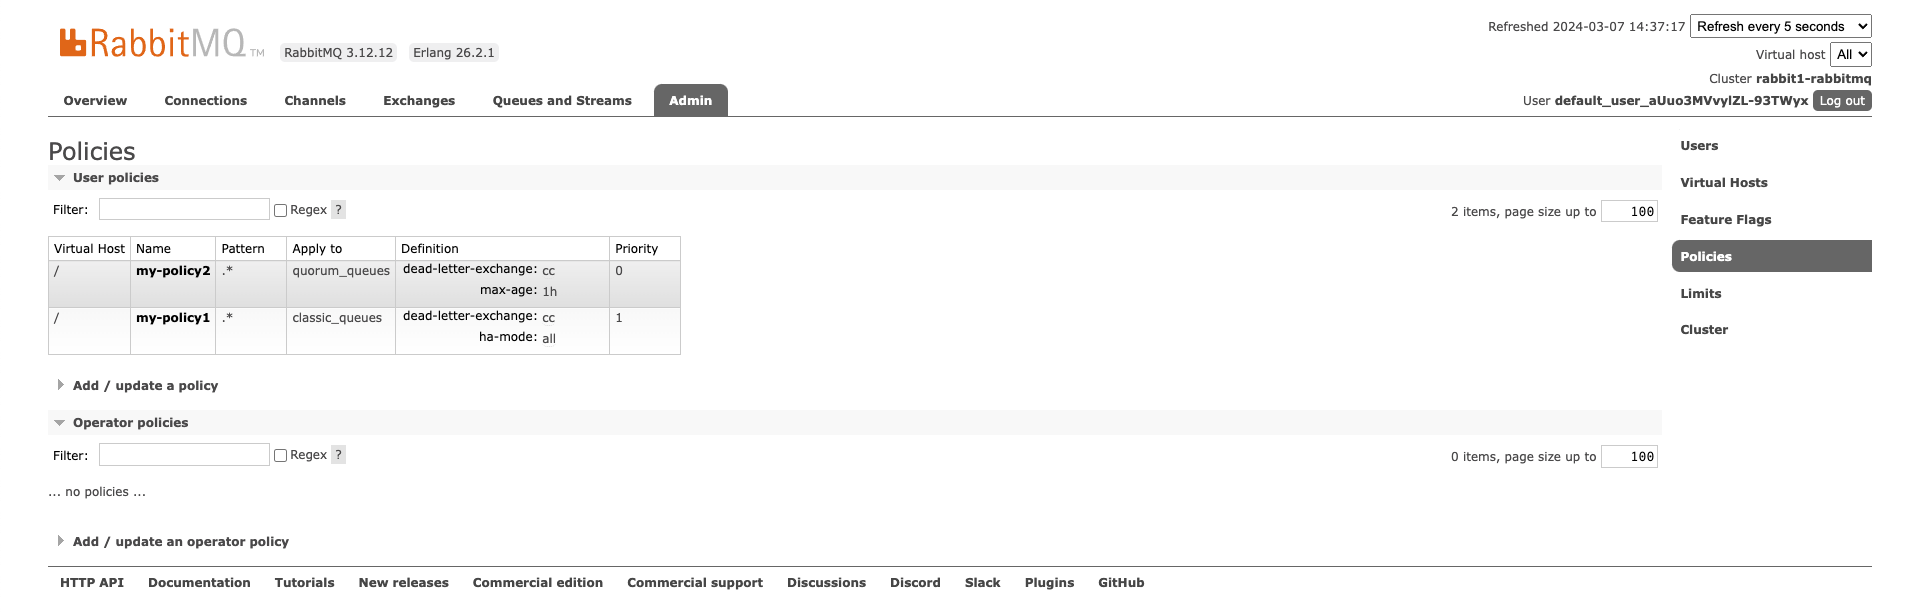
To see the policies that we defined you can see them in the Admin tab and under Policies:
Connecting an application to the RabbitMQ cluster
To connect to the RabbitMQ cluster you use AMQP to open a connection. To open a connection you need to create a connection string using the username, password, host and port of the RabbitMQ cluster.
-
Get the host using the following command:
kubectl get secret rabbit1-rabbitmq-cluster-default-user -n team-labs -o jsonpath="{.data.host}" | base64 --decode -
Get the port use the following command:
kubectl get secret rabbit1-rabbitmq-cluster-default-user -n team-labs -o jsonpath="{.data.port}" | base64 --decode
The connection string is build like this:
amqp://USERNAME:PASSWORD@HOST:PORT/With values:
amqp://default_user_mWPUECo5wsbtpgY3oze:MdzUL4CcgF-cQryLfk5uxqf57qqWBG8l@matthew-rabbit1-rabbitmq.team-admin.svc:5672/Updated 5 months ago