Manage Grafana users
Prerequisites
Administrative access
To edit users, you'll need Grafana administrative privileges.
SMTP configuration (self-hosted Grafana only)
If you're using your own Grafana instance, be aware that the user management portion of Grafana requires the configuration of a SMTP (mail server) address. This is used to send invitations and other e-mail messages. If you haven’t set up SMTP, you’ll see this error message when inviting new users:

To resolve this, configure SMTP for your local instance of Grafana.
Add users
To add users, follow the steps below.
- Login to your Grafana Account.
-
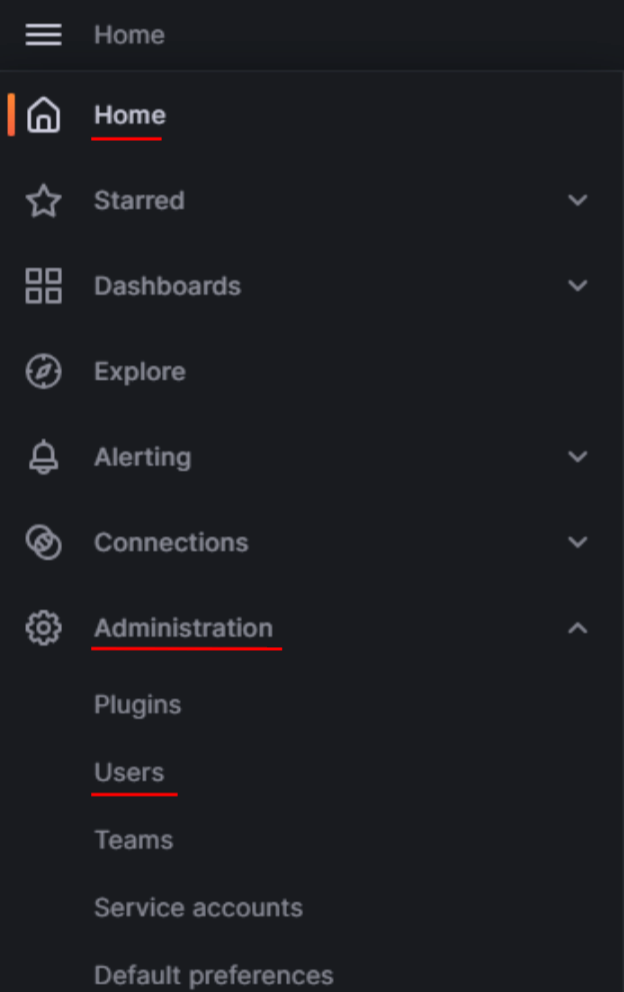
Go to Home -> Administration -> Users
-
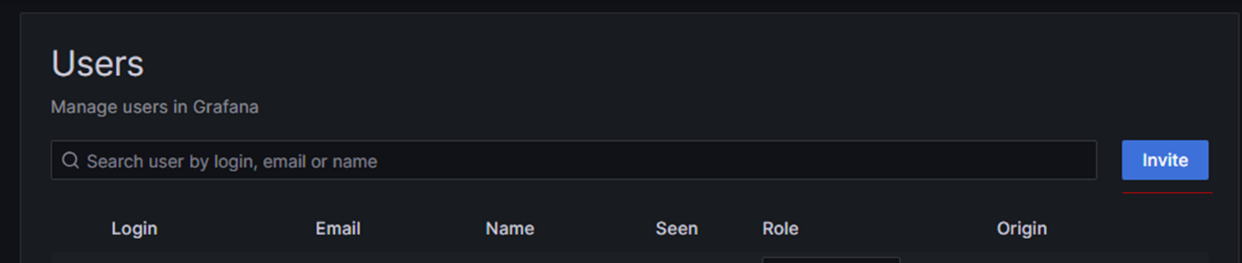
In the Users section, select Invite on the right-hand side.
-
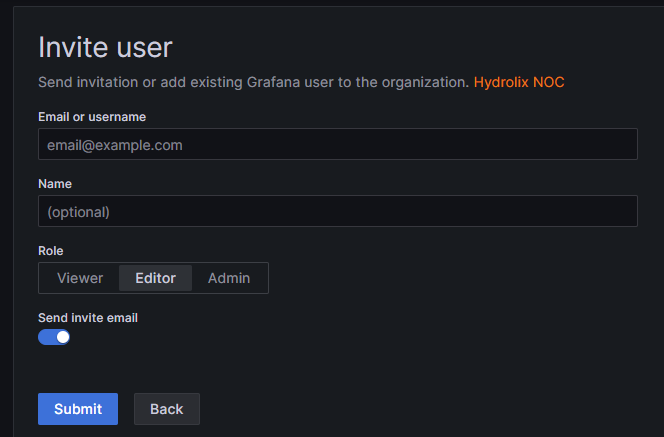
Input the user’s details and assign a role.
-
More information on the different roles above can be found on Grafana's Roles and Permissions page.
-
Select Submit to send an invitation to their email address. The invitation includes a one-time token, so if using a distribution list, ensure that whoever clicks on the link sets the password and is able to communicate this to the rest of the team.
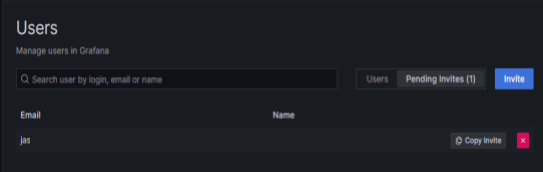
If the user does not see the invitation, advise them to check their spam folders. Alternatively, select Pending Invites and copy the invitation link to re-send it to them via e-mail or other messaging platform.
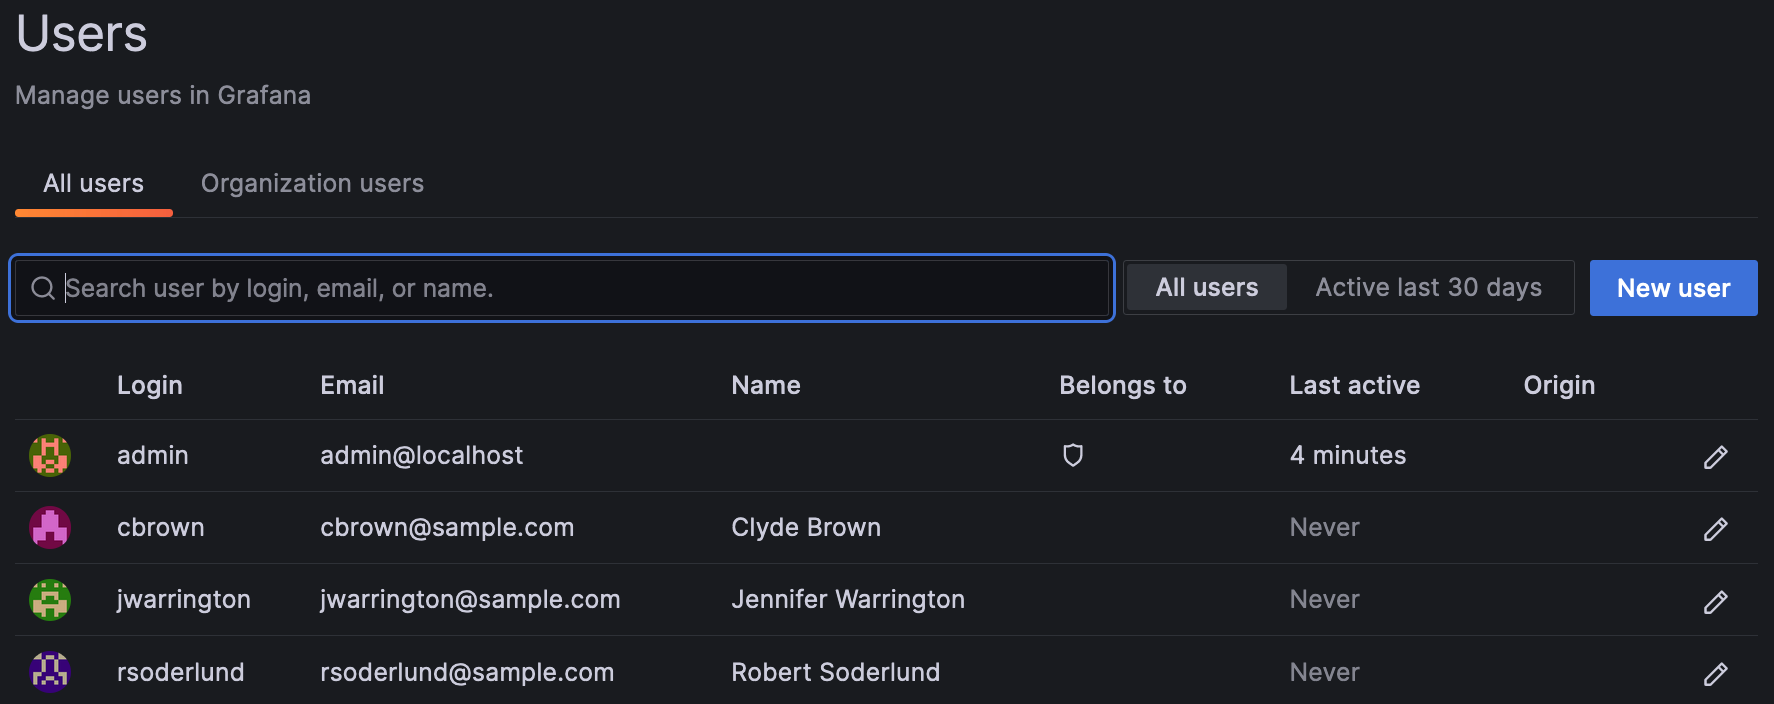
Edit users
-
Go to Home -> Administration -> Users
-
The interface will allow you to change users’ permission levels and other attributes.
To reset a user’s password, either delete the user, re-create them and then and invite again, or have the user complete the Lost Password option on the login screen.
Updated 5 months ago